 Guides
 API Reference
Cloudflare Worker Setup
Use a Cloudflare Worker to capture all traffic on your domain and forward it to Sona for server-side analytics. This approach runs at the edge — before your origin server — giving you complete visibility into every request.
Prerequisites
- A Cloudflare account (free tier works)
- A domain added to Cloudflare with DNS proxied through Cloudflare (the orange cloud icon)
Step 1: Create the Worker Script
- Go to dash.cloudflare.com and log in
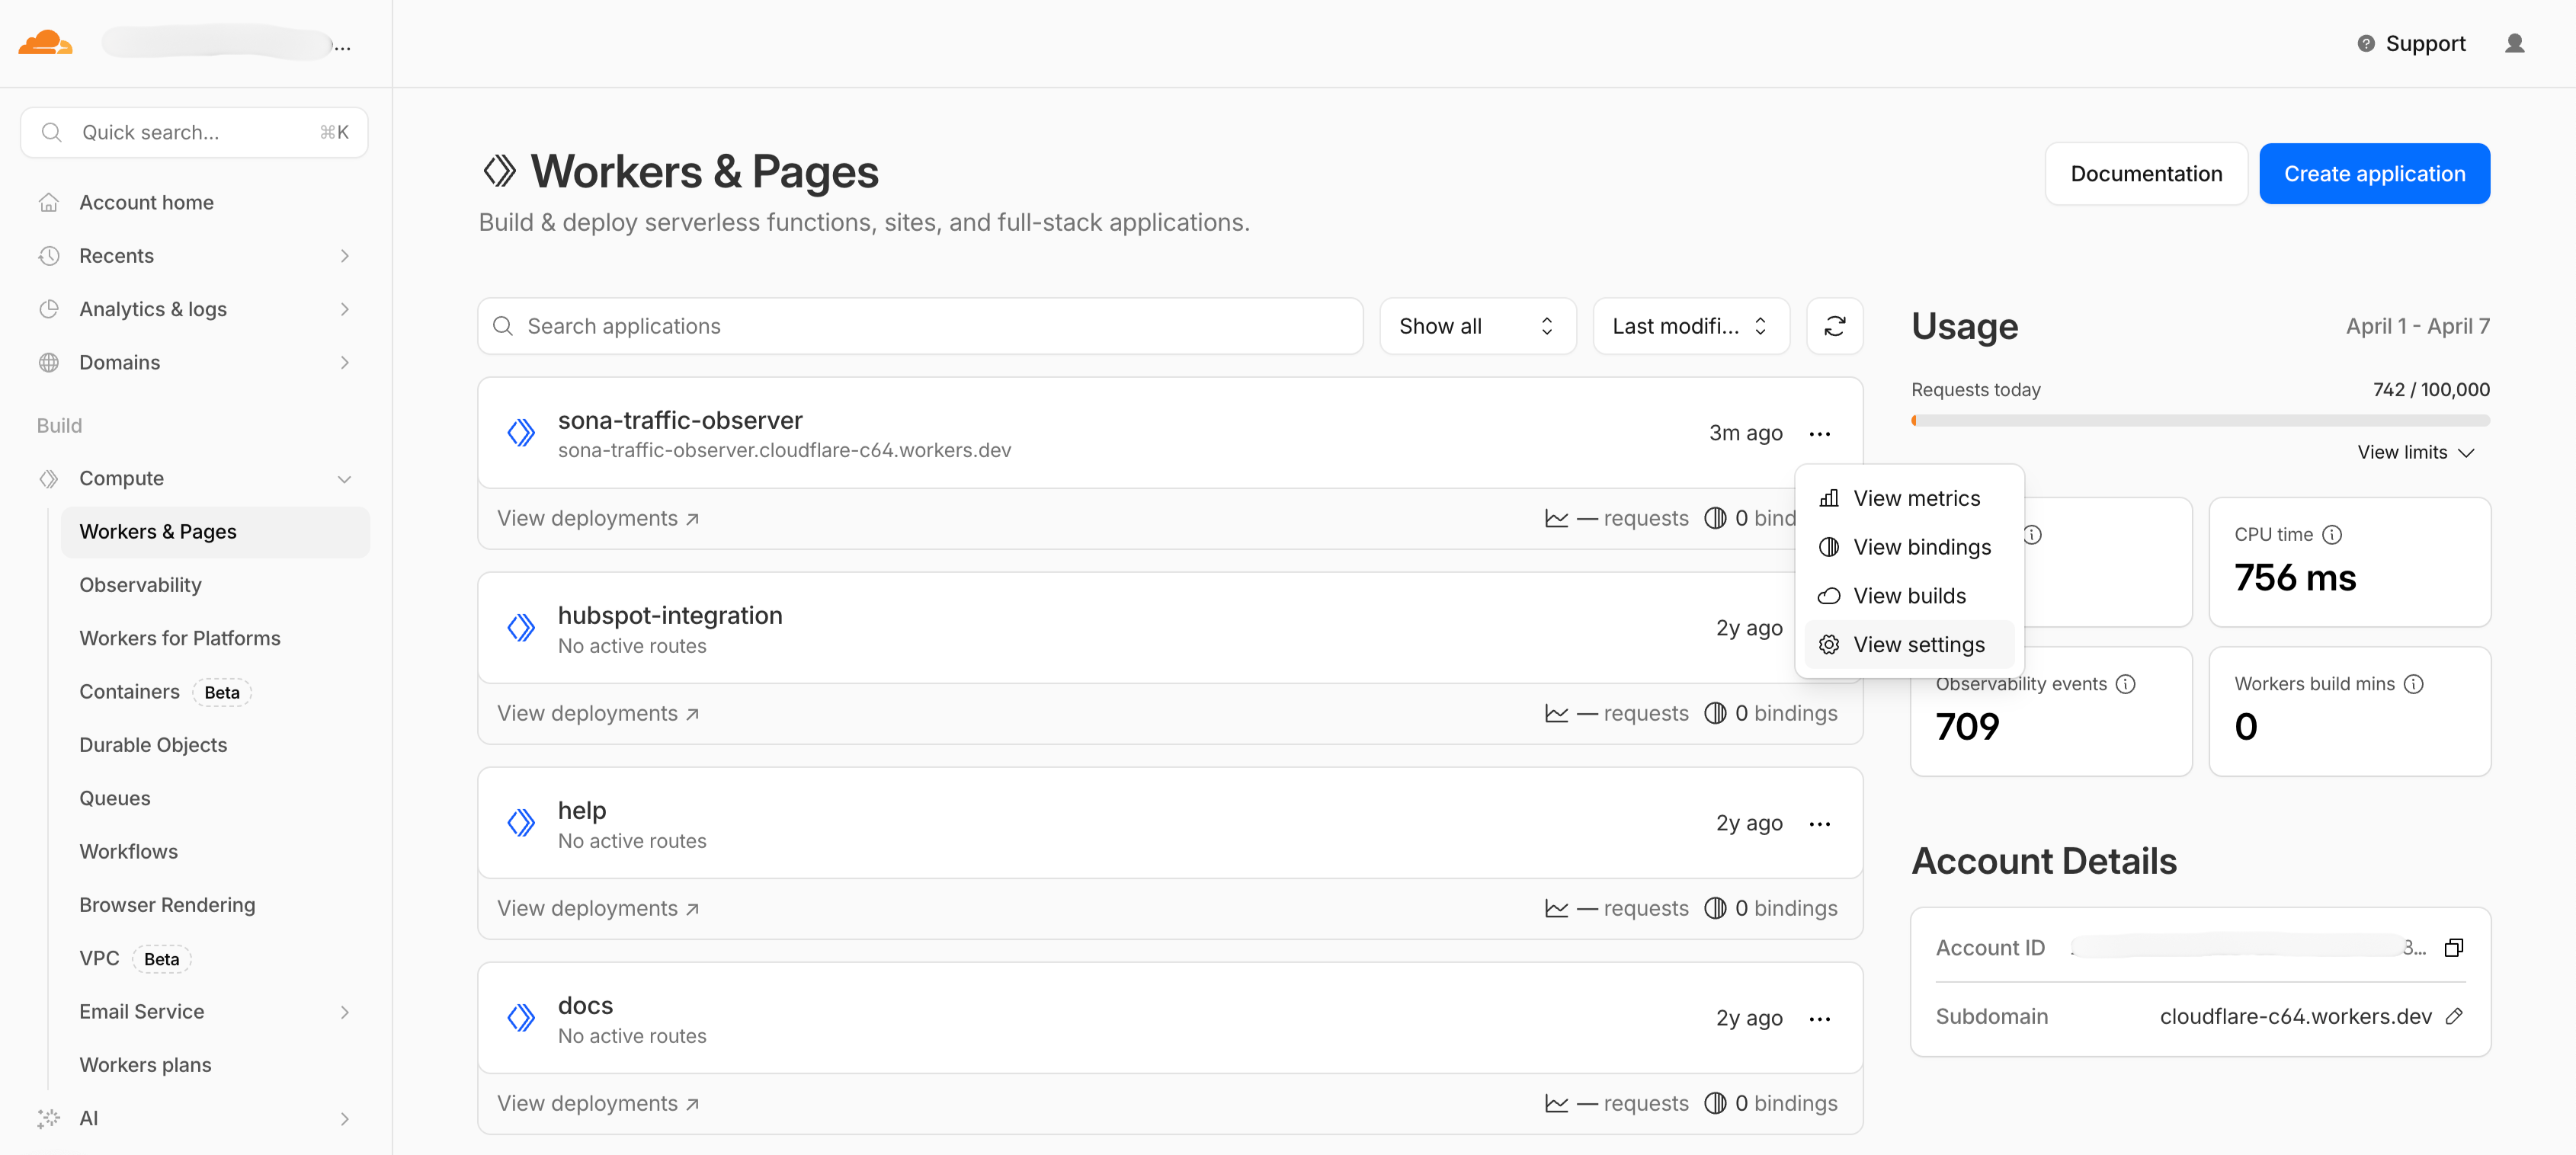
- In the left sidebar, click Workers & Pages
- Click Create application
- Click Start with Hello World!
- Give your worker a name (e.g.,
sona-traffic-observer) and click Deploy
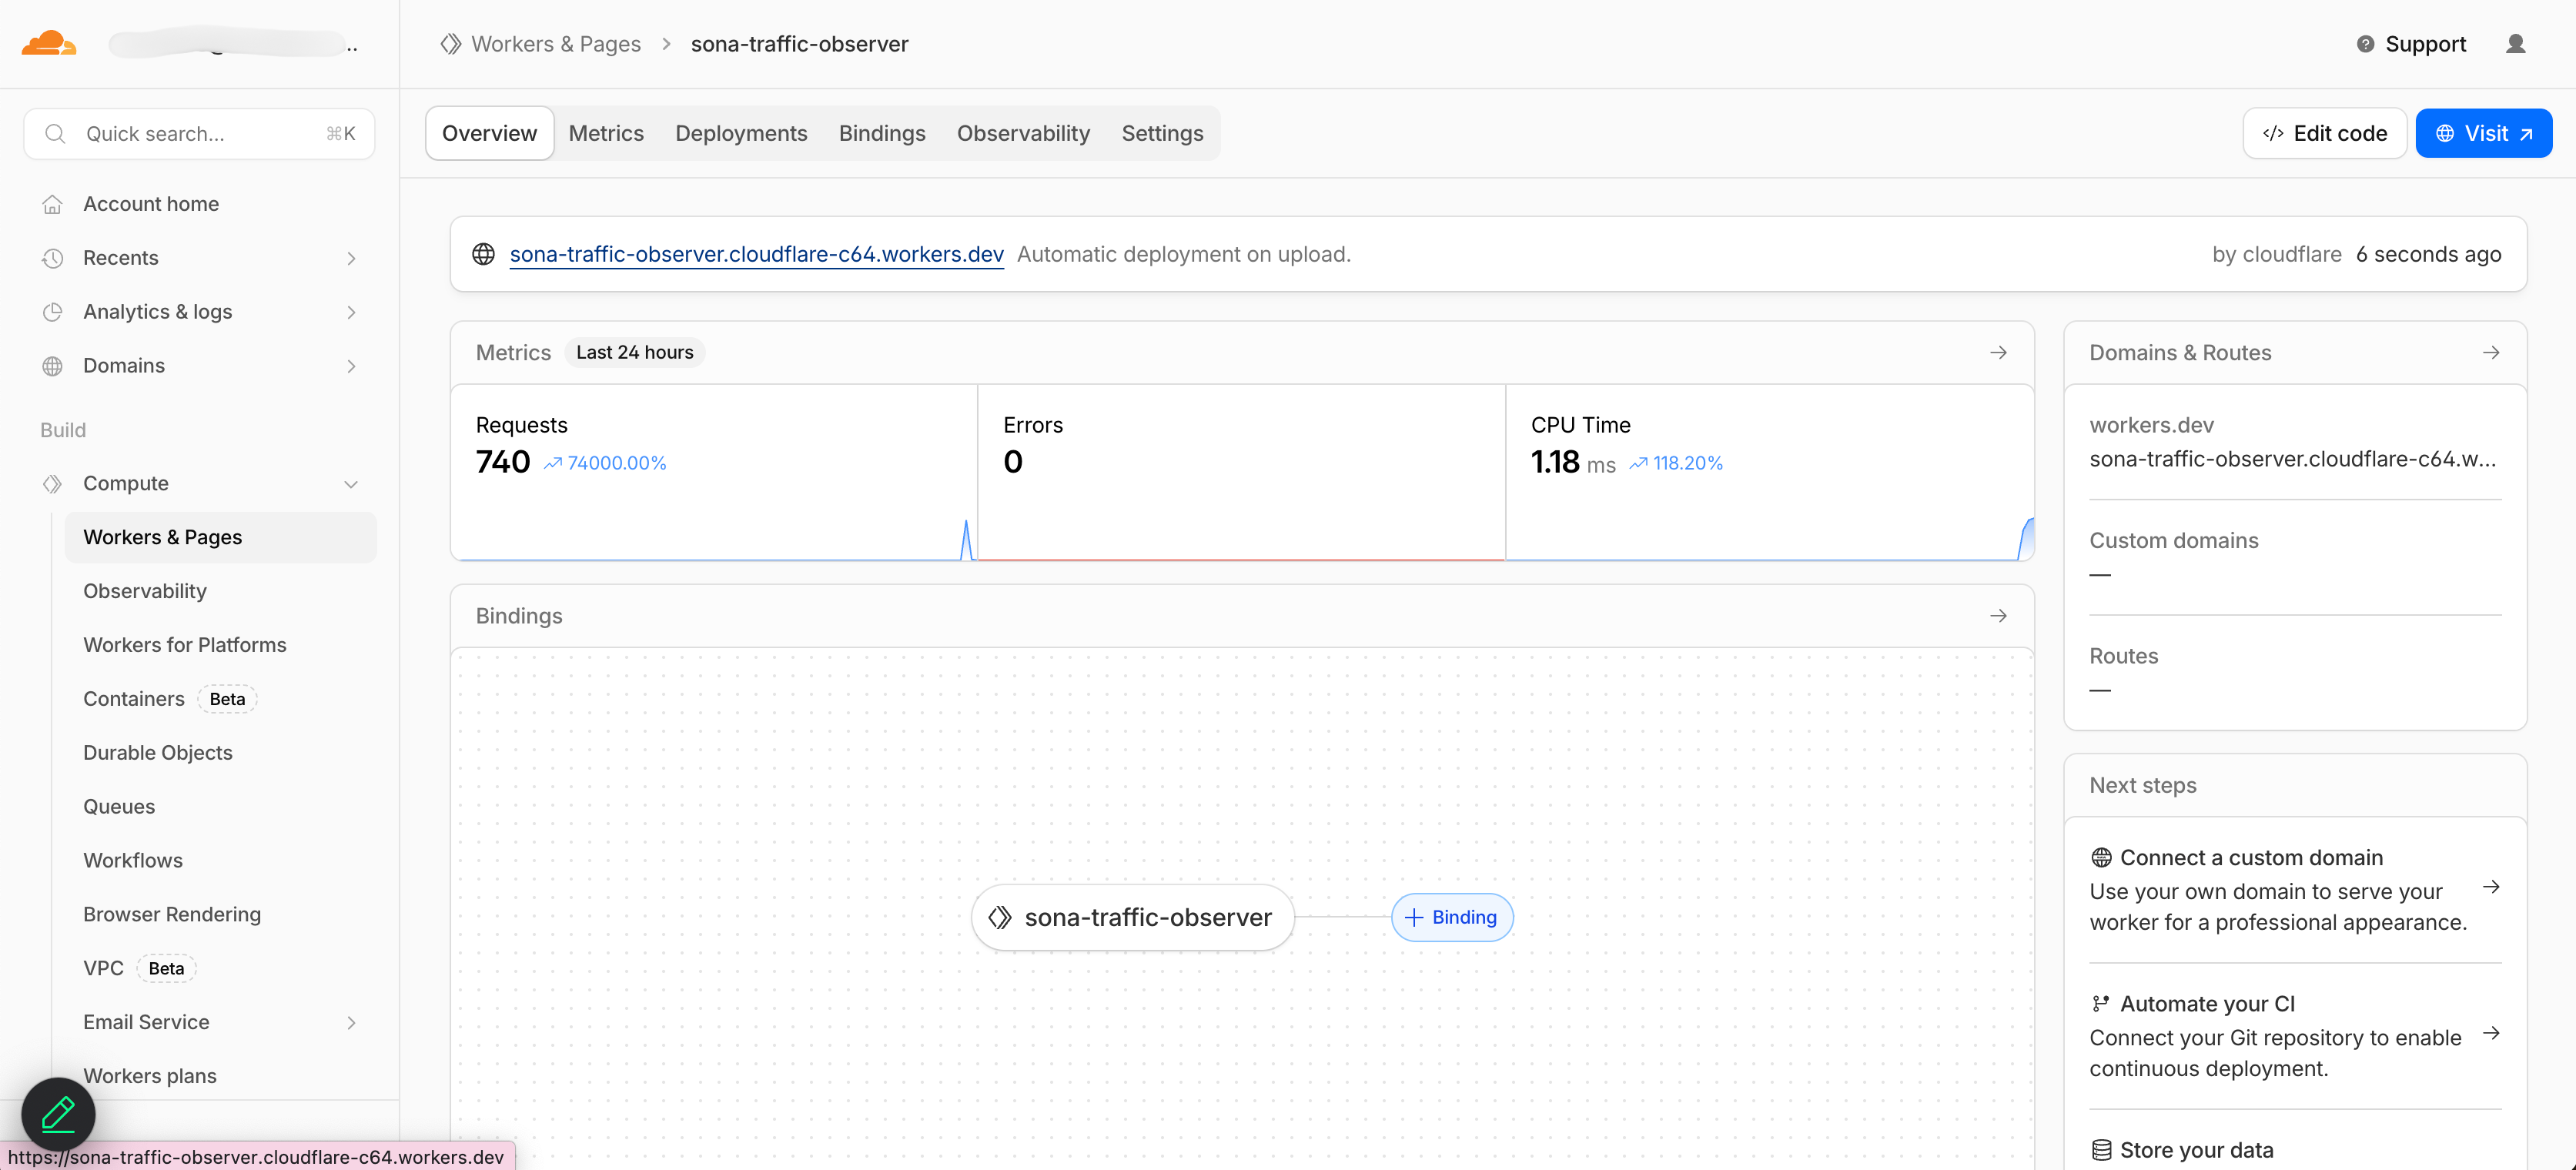
Once deployed, you'll land on the worker's overview page. Click Edit code to open the editor.
- The editor will open with a default Hello World script.
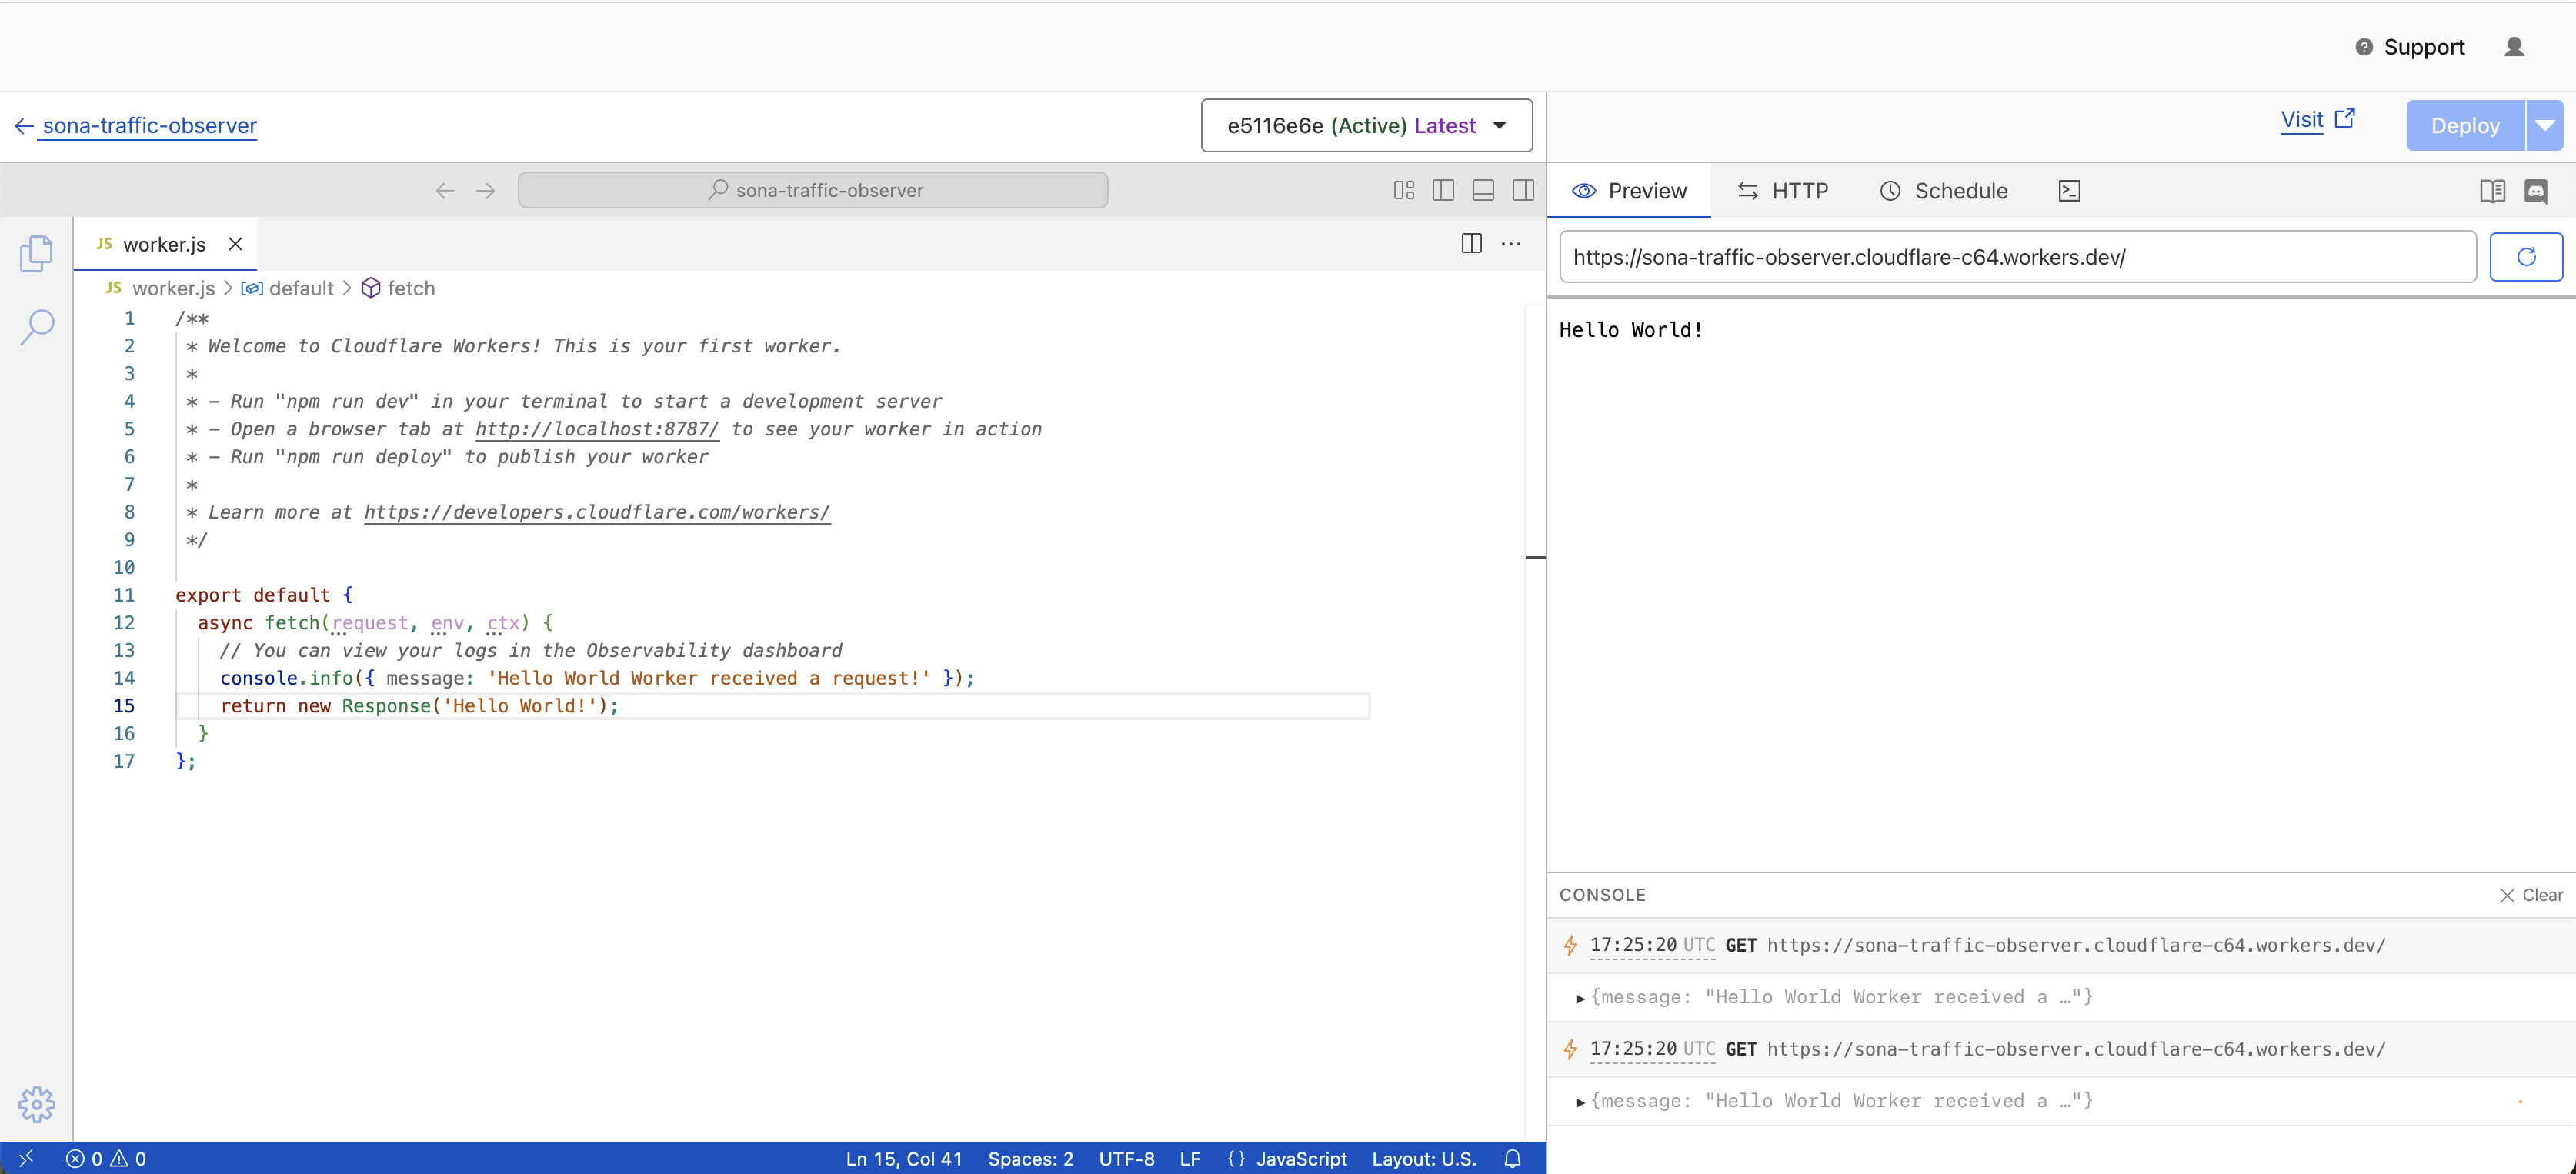
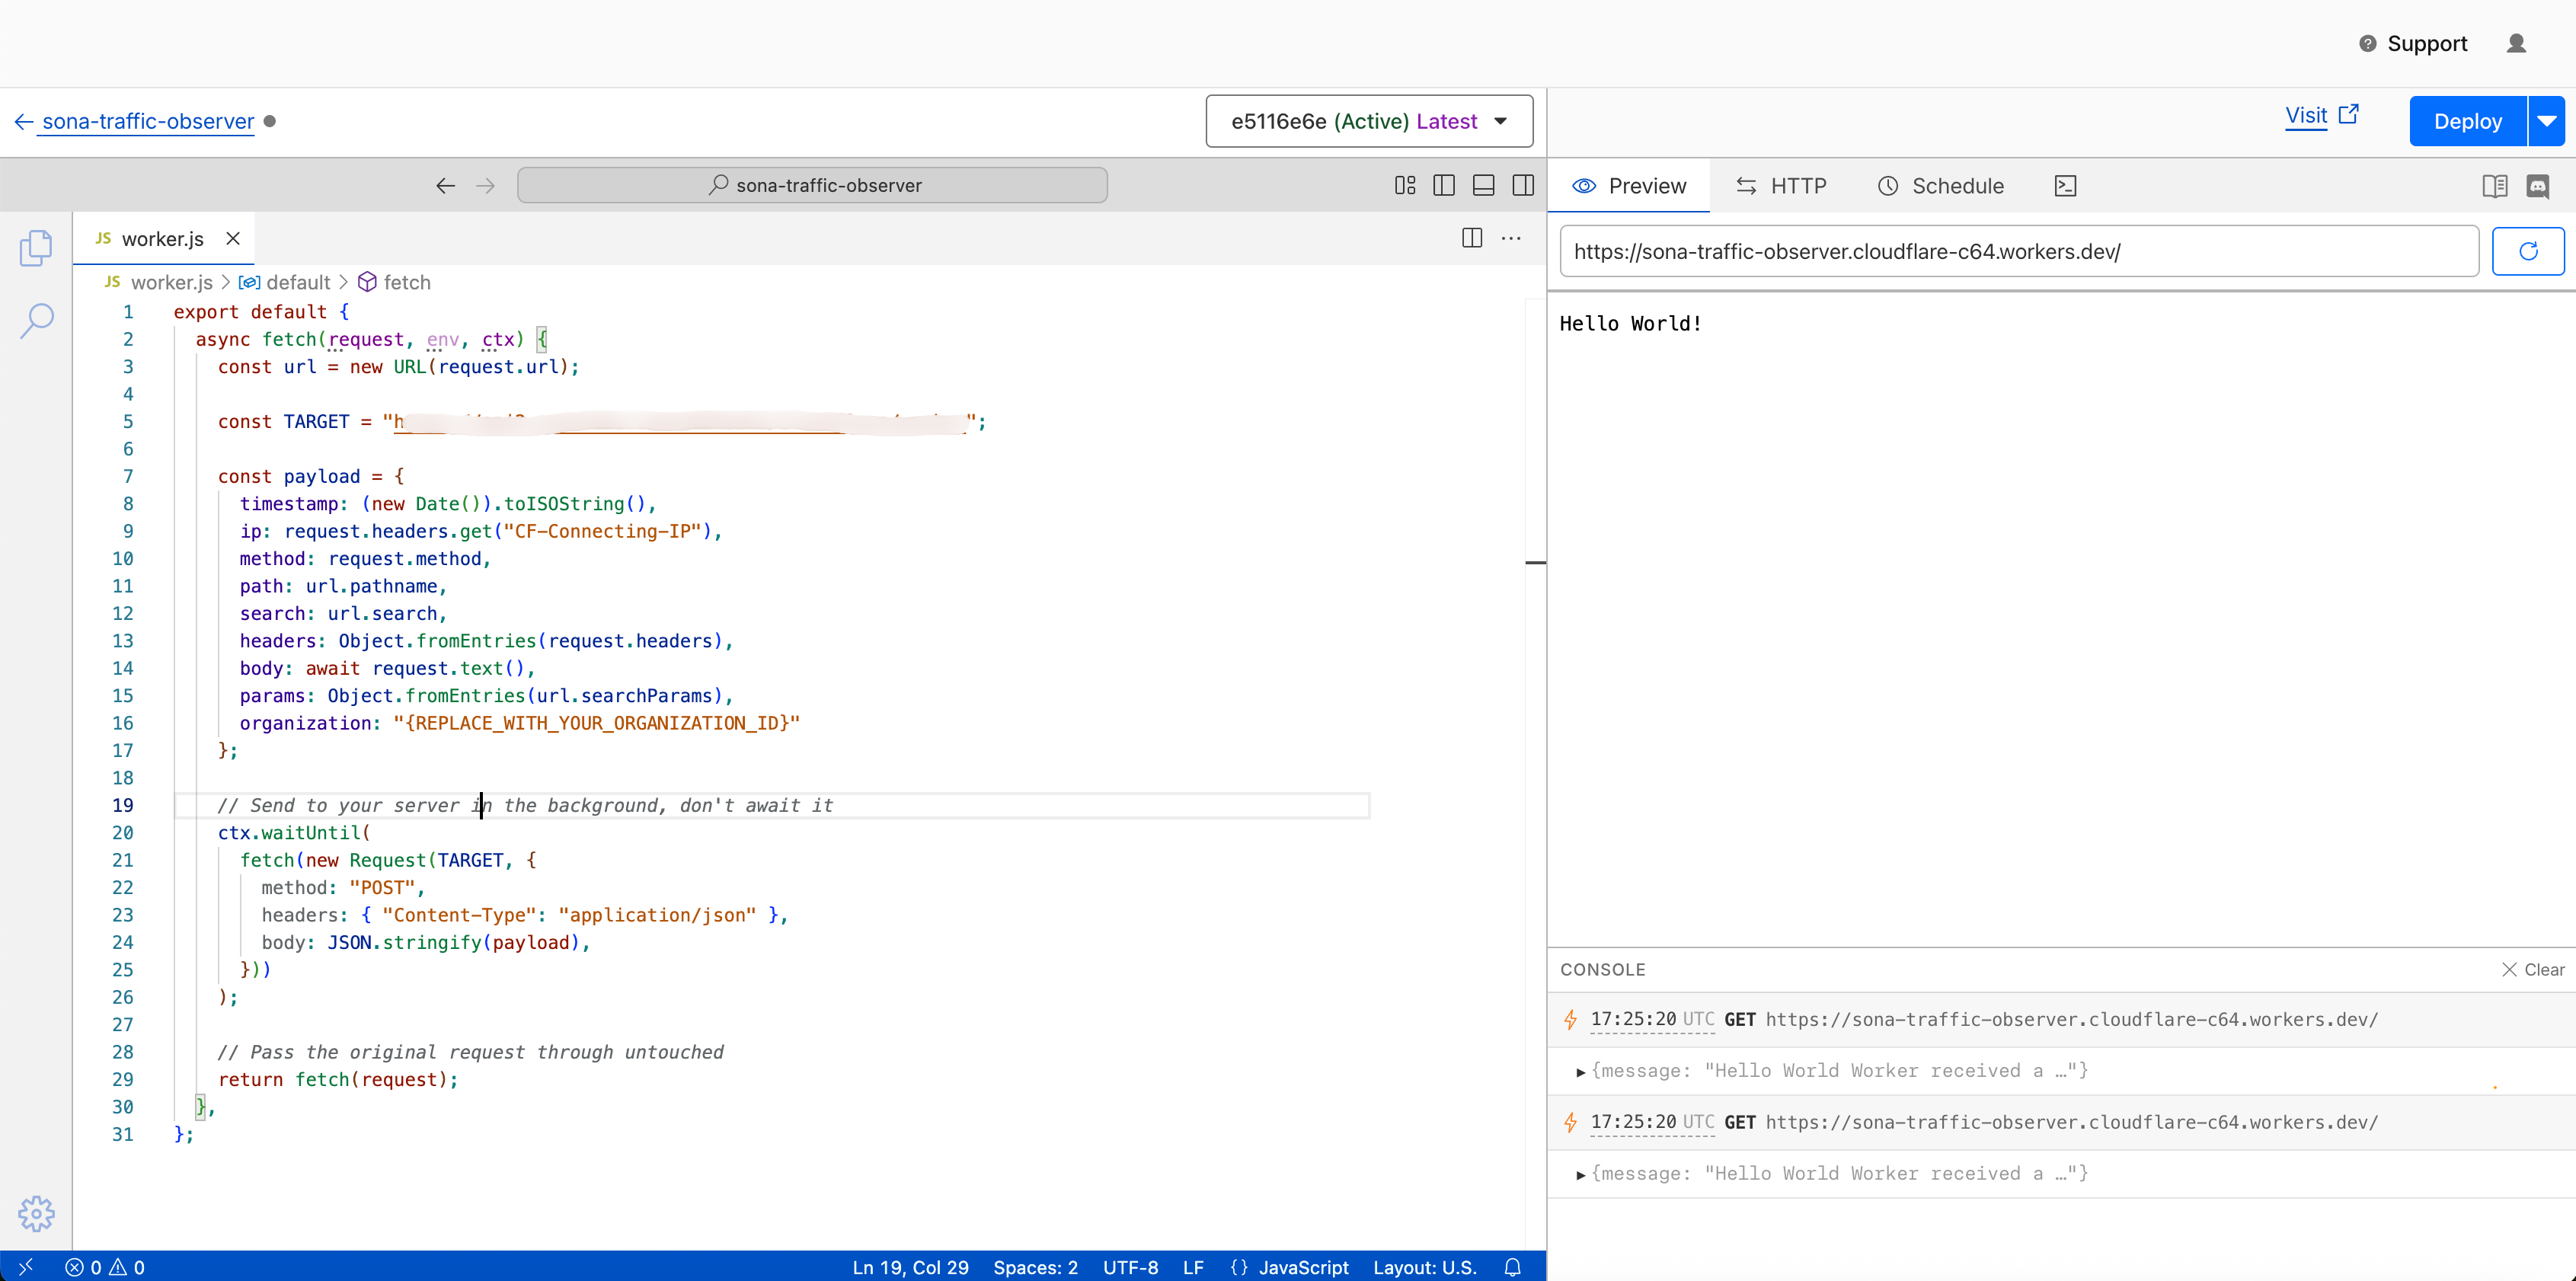
- Replace everything in the editor with the following:
const CRAWLER_ID = "{REPLACE_WITH_YOUR_AI_CRAWLER_ID}";
const ORGANIZATION_ID = "{REPLACE_WITH_YOUR_ORGANIZATION_ID}";

const BUCKET = "https://aicrawler.sfo3.cdn.digitaloceanspaces.com";
const WEBHOOK_TARGET = "https://api2.sonalabs.com/webhooks/cloudflare/worker";

const AI_BOTS = /GPTBot|ChatGPT-User|OAI-SearchBot|PerplexityBot|ClaudeBot|Claude-SearchBot|Google-Extended|CCBot|Bytespider|Amazonbot|openai|anthropic-ai|Applebot-Extended|cohere-ai|Meta-ExternalAgent|Meta-ExternalFetcher|YouBot|Timpibot|Kangaroo Bot|magpie-crawler|ICC-Crawler|iaskspider\/2.0/i;

async function hashUrl(url) {
  const buf = await crypto.subtle.digest('SHA-256', new TextEncoder().encode(url));
  return [...new Uint8Array(buf)].map(b => b.toString(16).padStart(2, '0')).join('');
}

export default {
  async fetch(request, env, ctx) {
    const url = new URL(request.url);
    const ua = request.headers.get('User-Agent') || '';
    const isAiBot = AI_BOTS.test(ua);

    let response;
    let contentSource = 'origin';

    if (isAiBot && CRAWLER_ID) {
      const hash = await hashUrl(request.url);
      const aiContentRes = await fetch(`${BUCKET}/${CRAWLER_ID}/${hash}.md`);

      if (aiContentRes.ok) {
        response = new Response(aiContentRes.body, {
          headers: {
            'Content-Type': 'text/html; charset=utf-8',
            'X-Crawler-Run-ID': CRAWLER_ID,
            'X-Content-Source': 'ai-generated'
          }
        });
        contentSource = 'ai-generated';
      } else {
        response = await fetch(request);
      }
    } else {
      response = await fetch(request);
    }

    if (!ORGANIZATION_ID) {
      return response;
    }

    const requestClone = request.clone();
    const payload = {
      timestamp: new Date().toISOString(),
      ip: request.headers.get("CF-Connecting-IP"),
      method: request.method,
      path: url.pathname,
      search: url.search,
      httpCode: response.status,
      headers: Object.fromEntries(request.headers),
      params: Object.fromEntries(url.searchParams),
      organization: ORGANIZATION_ID
    };

    ctx.waitUntil(
      (async () => {
        payload.body = await requestClone.text();
        await fetch(WEBHOOK_TARGET, {
          method: "POST",
          headers: { "Content-Type": "application/json" },
          body: JSON.stringify(payload),
        });
      })()
    );

    return response;
  },
};
Replace the placeholders at the top of the script before clicking Deploy:
| Placeholder | Description |
|---|---|
{REPLACE_WITH_YOUR_ORGANIZATION_ID} | Your Sona organization ID |
{REPLACE_WITH_YOUR_AI_CRAWLER_ID} | Your Sona AI Crawler ID (enables AI agent–friendly responses) |
You can find your organization ID here: https://platform.sonalabs.com/account-settings/business-information
If you have not activated the AI agent–friendly site feature, set CRAWLER_ID to null on the first line:
const CRAWLER_ID = null;
Step 2: Attach the Worker to Your Domain
Now you need to route traffic from your domain through this Worker.
- Go back to Workers & Pages in the left sidebar. Find your worker in the list.
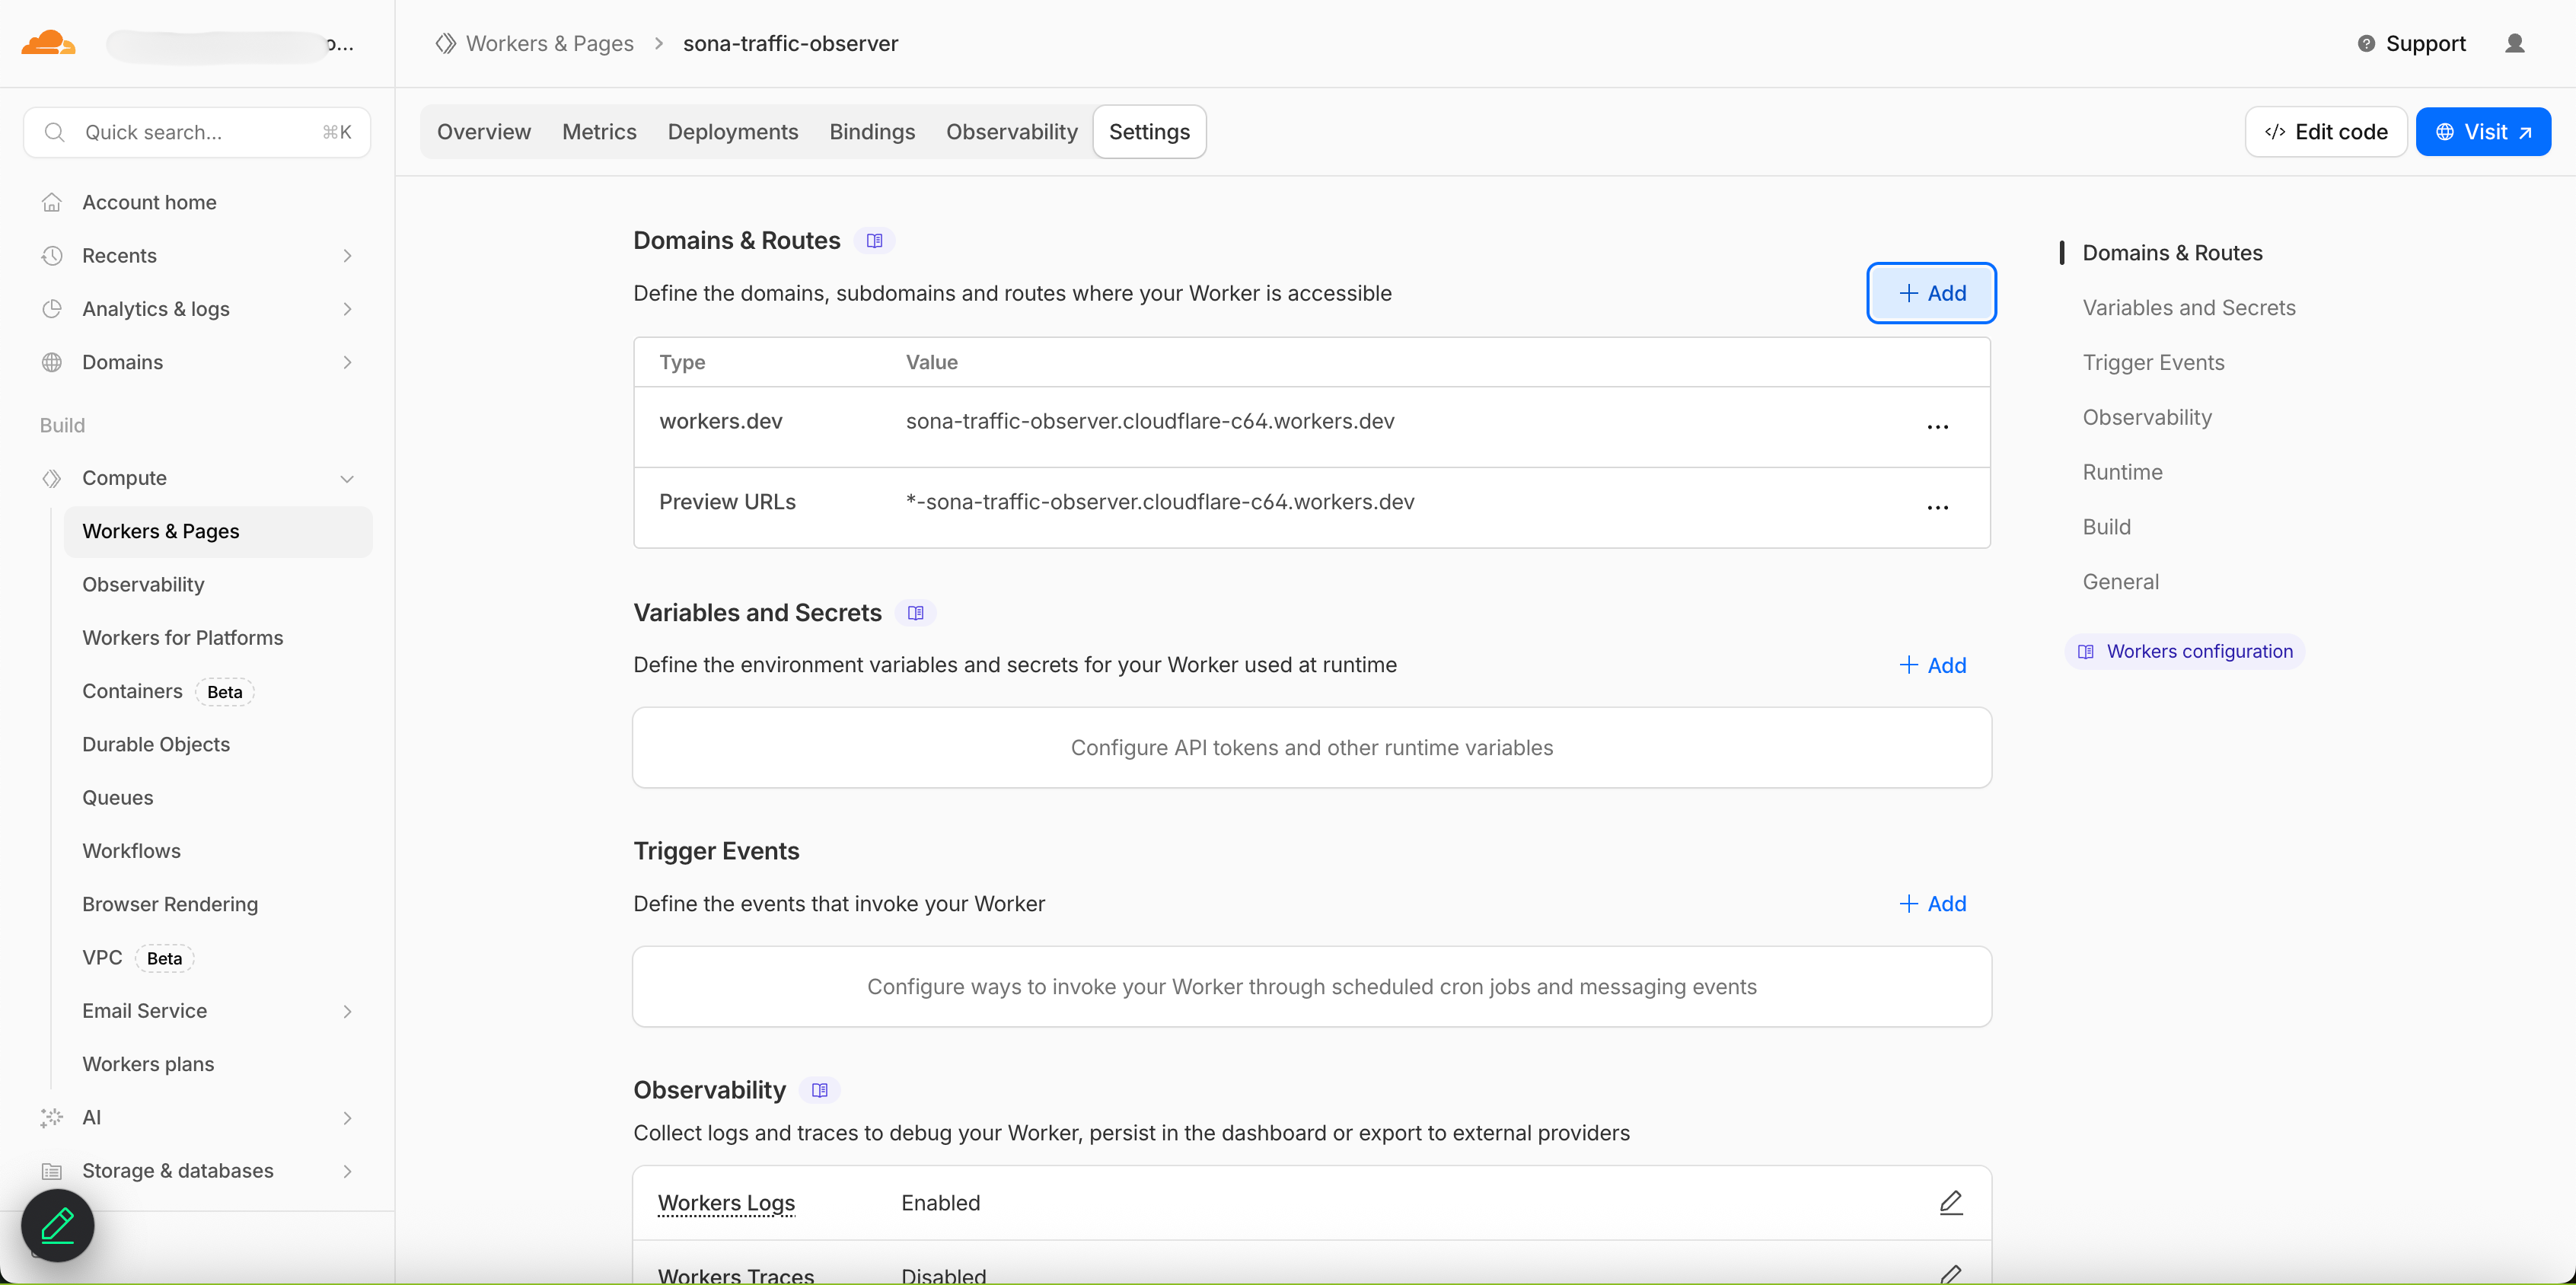
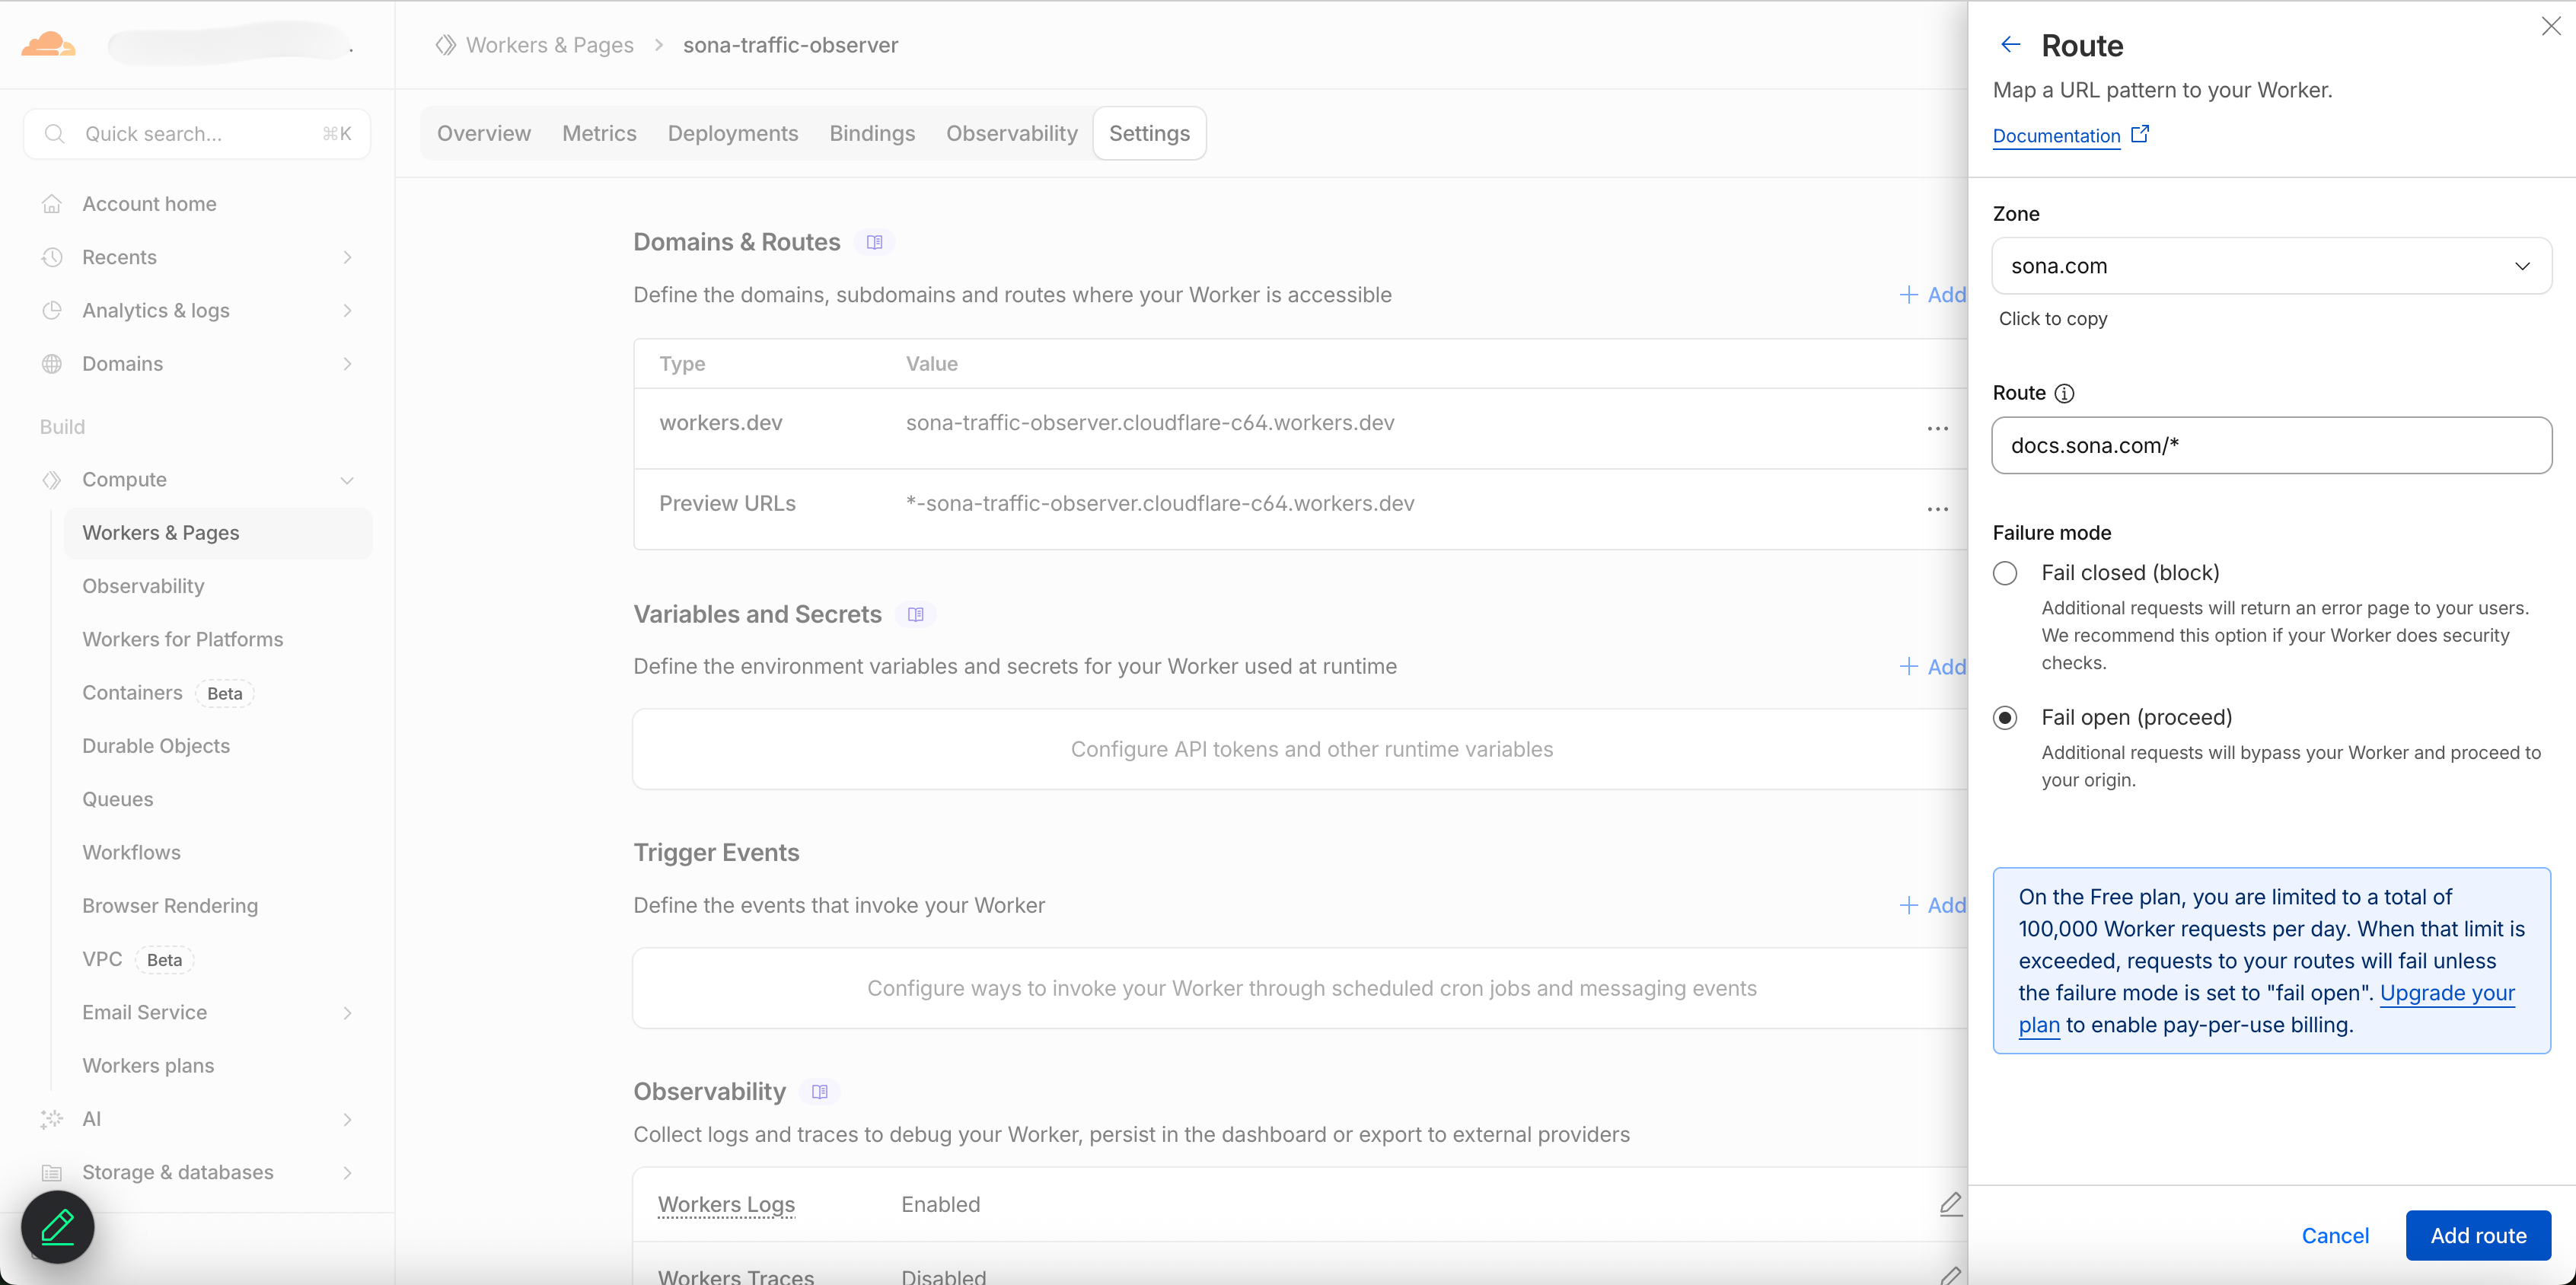
- Click on the worker, then open the Settings tab. Scroll down to Domains & Routes.
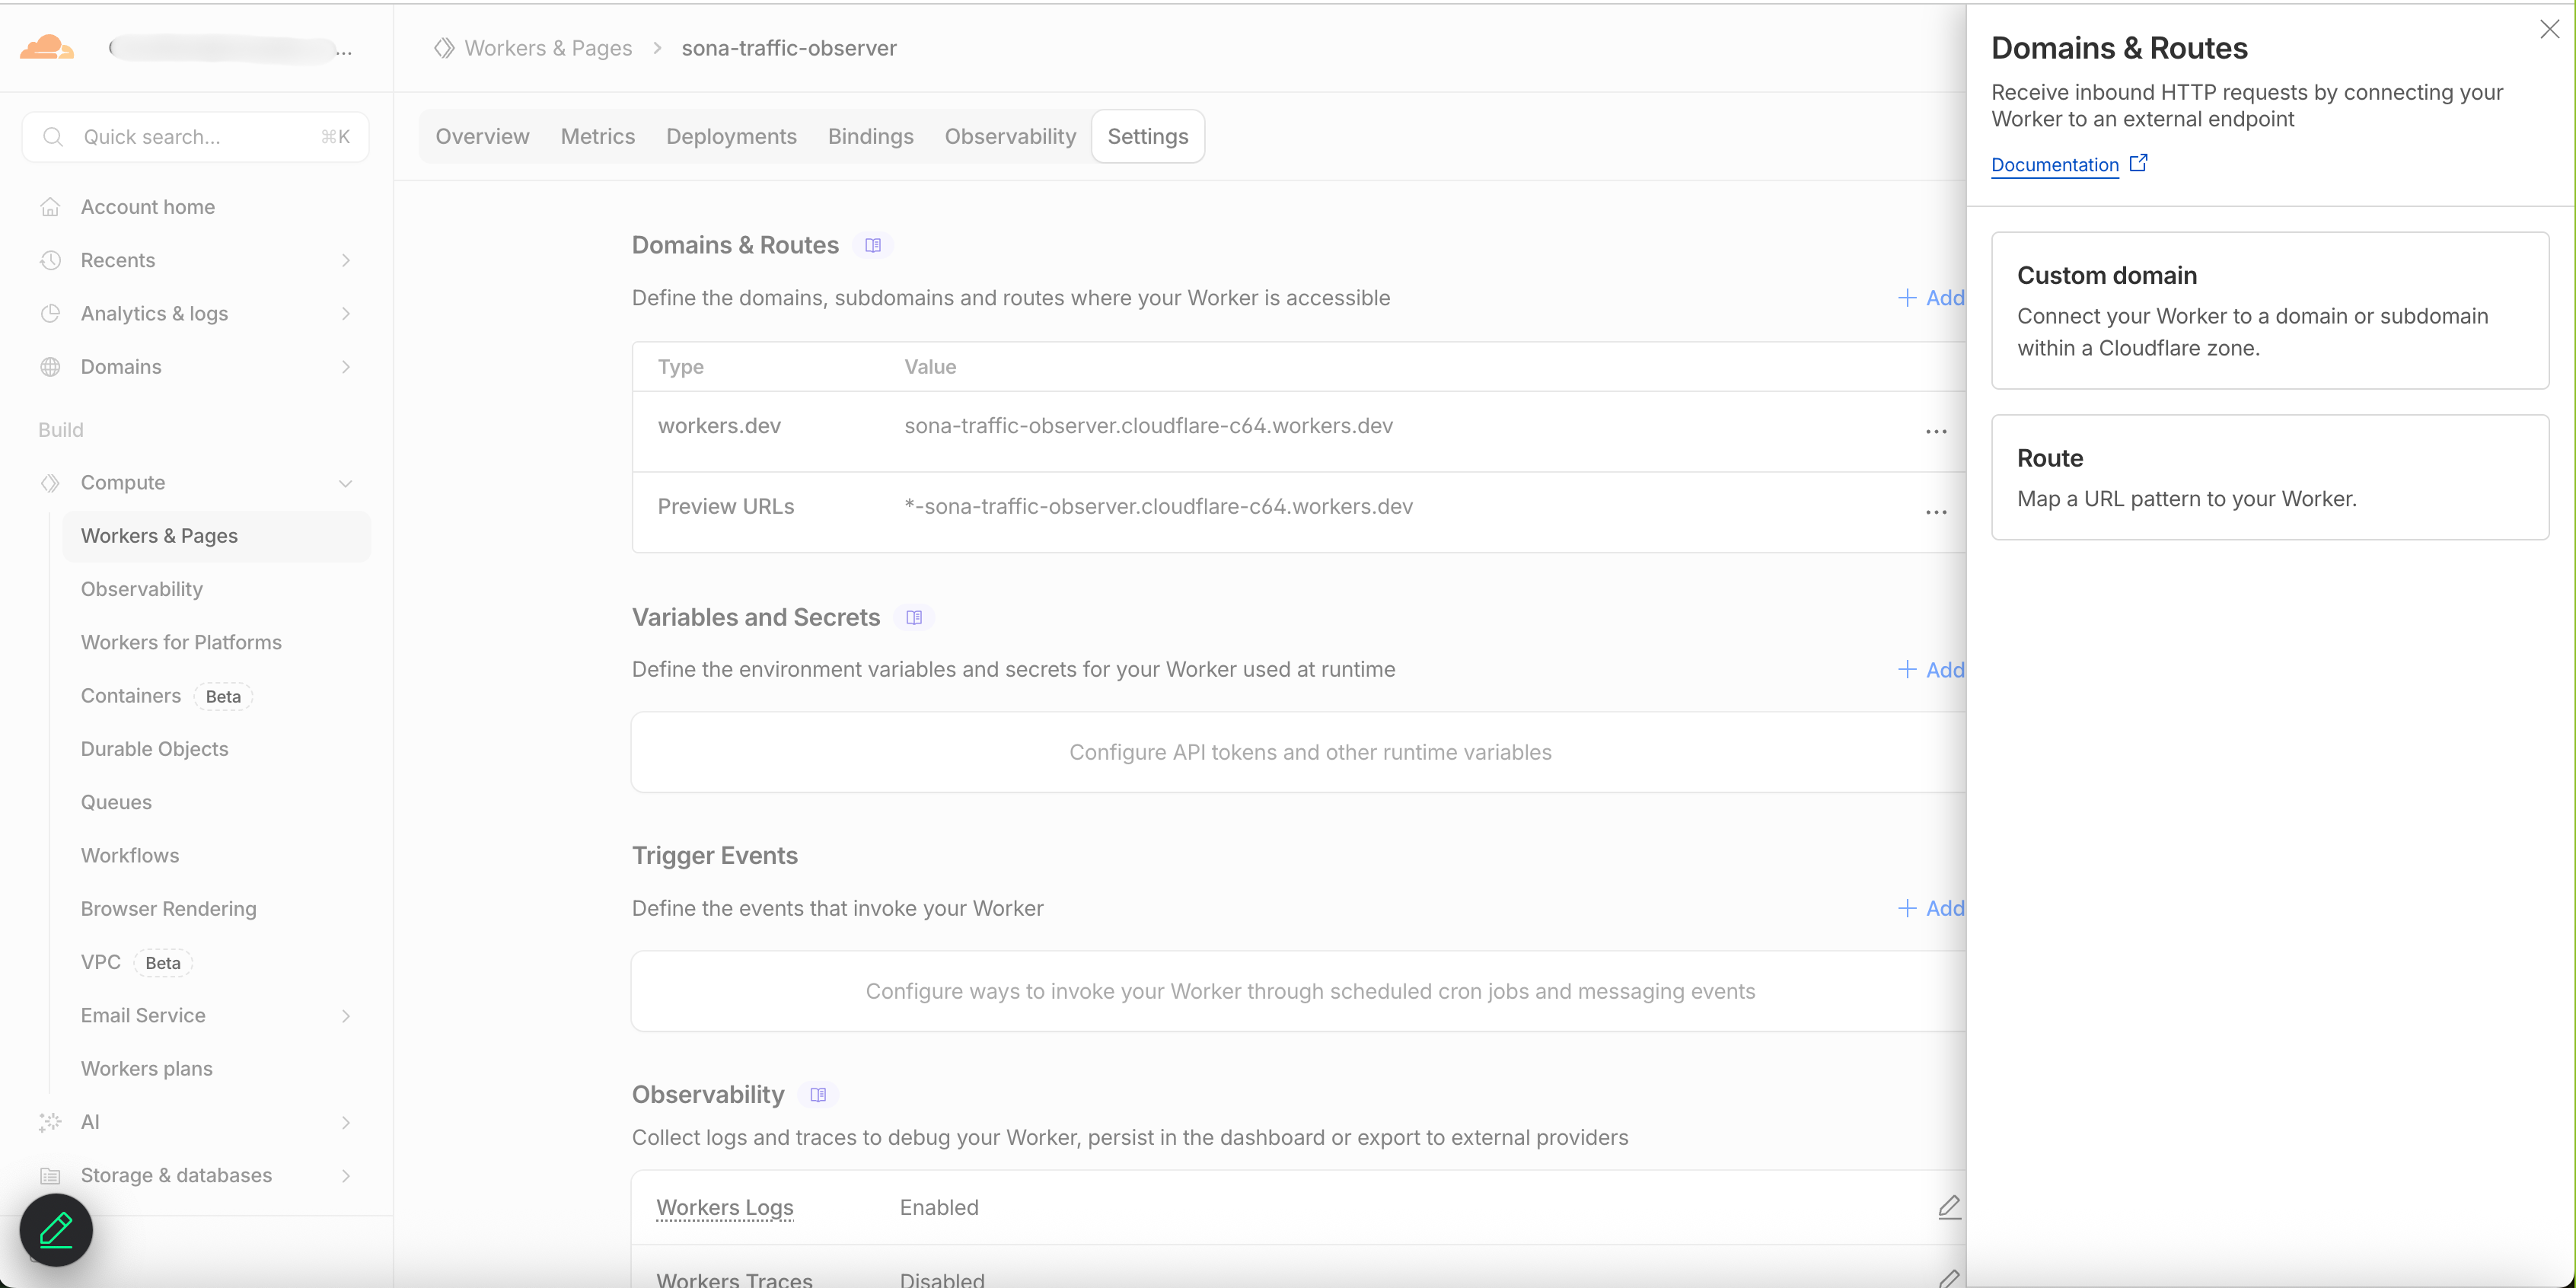
- Click + Add. A panel will appear on the right — select Route.
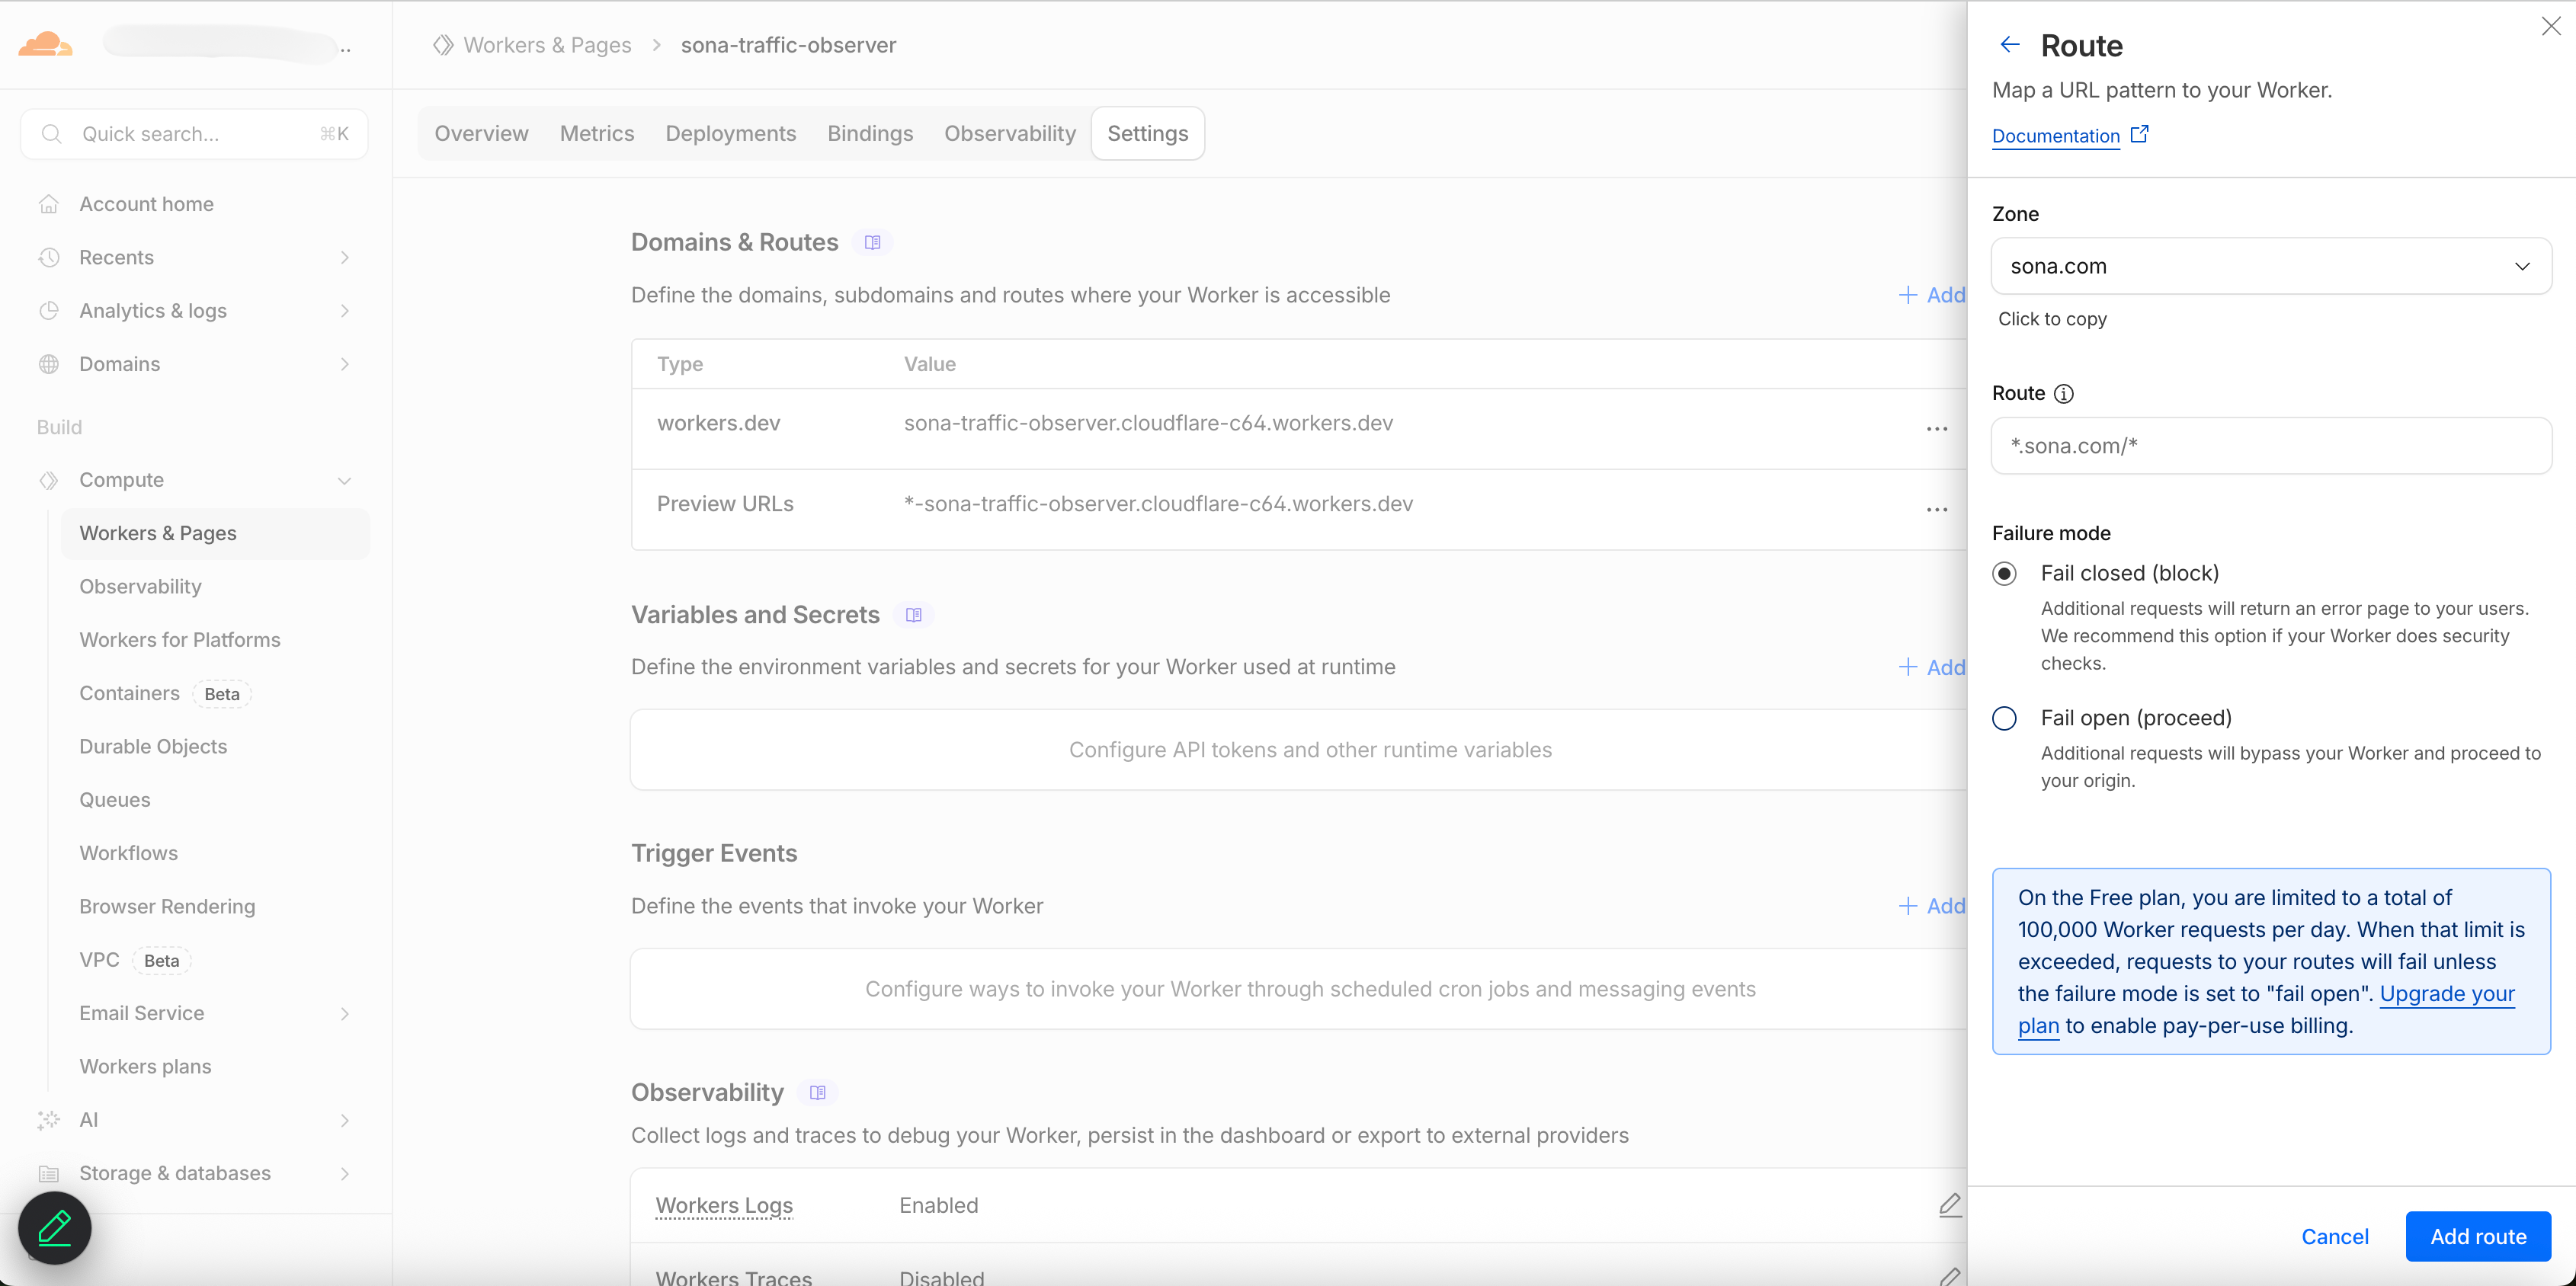
-
In the Route form, select your Zone (your domain) and enter a Route pattern. For example, to capture all traffic on your main domain:
- Zone:
sona.com - Route:
*.sona.com/*
Change Failure mode to Fail open (proceed).
- Zone:
-
Click Add route. You can repeat this to add routes for specific subdomains. For example:
www subdomain:
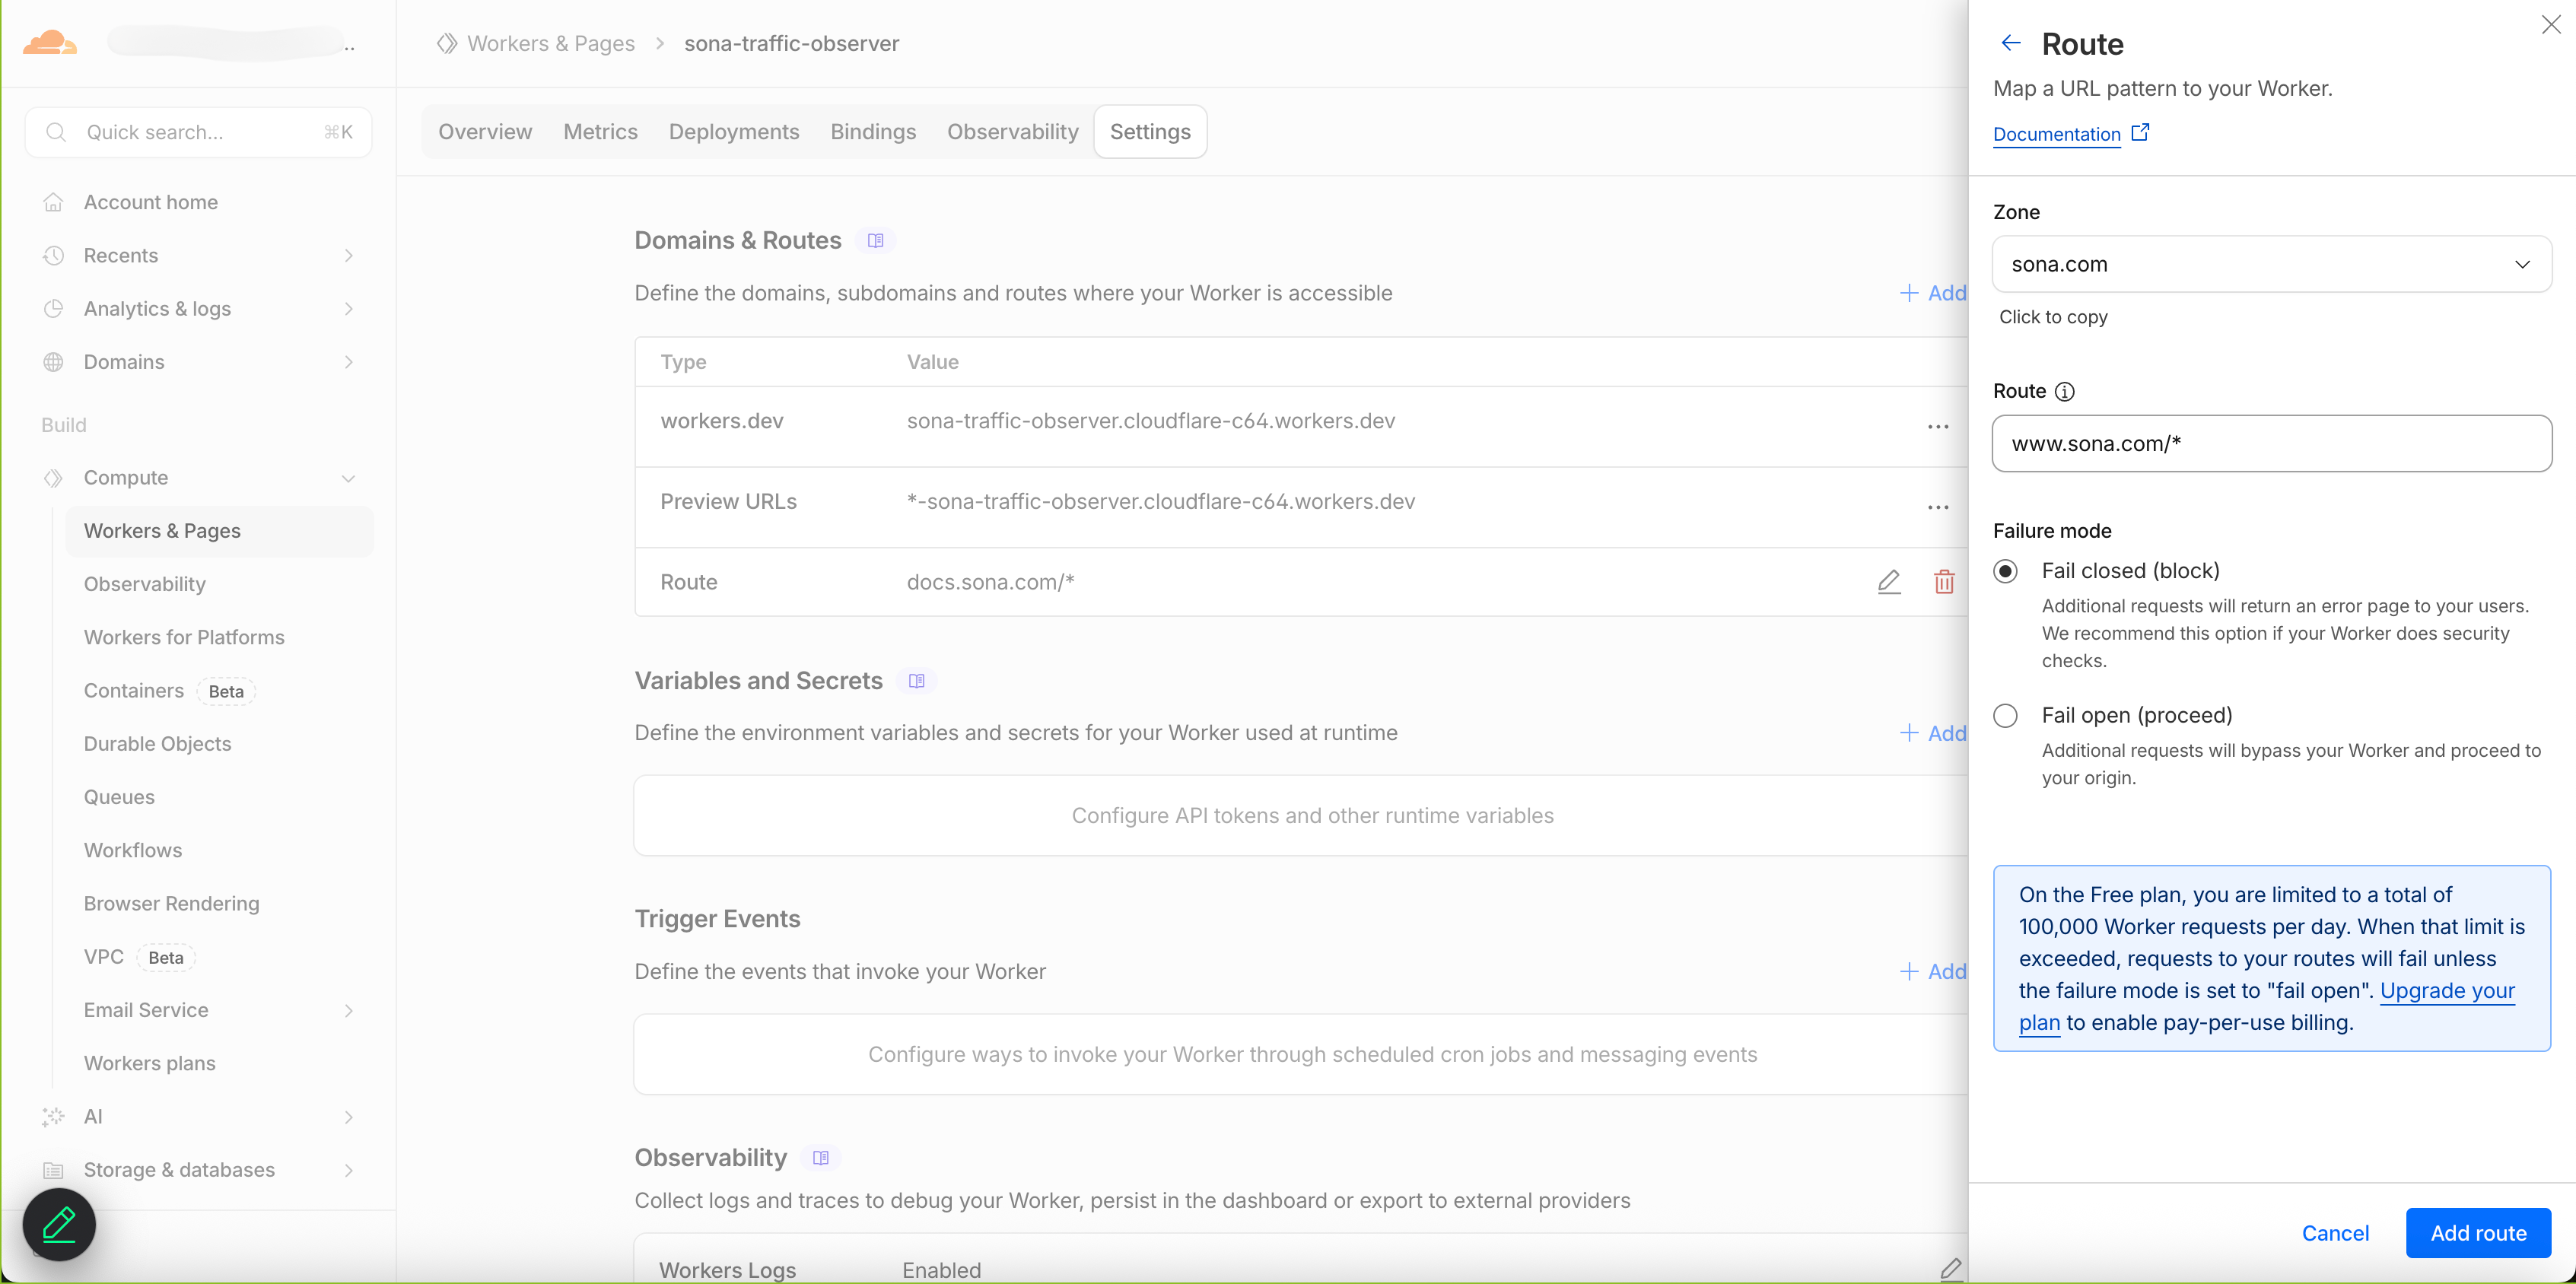
docs subdomain:
-
Once you've added all your routes, the Domains & Routes section will show each one listed.
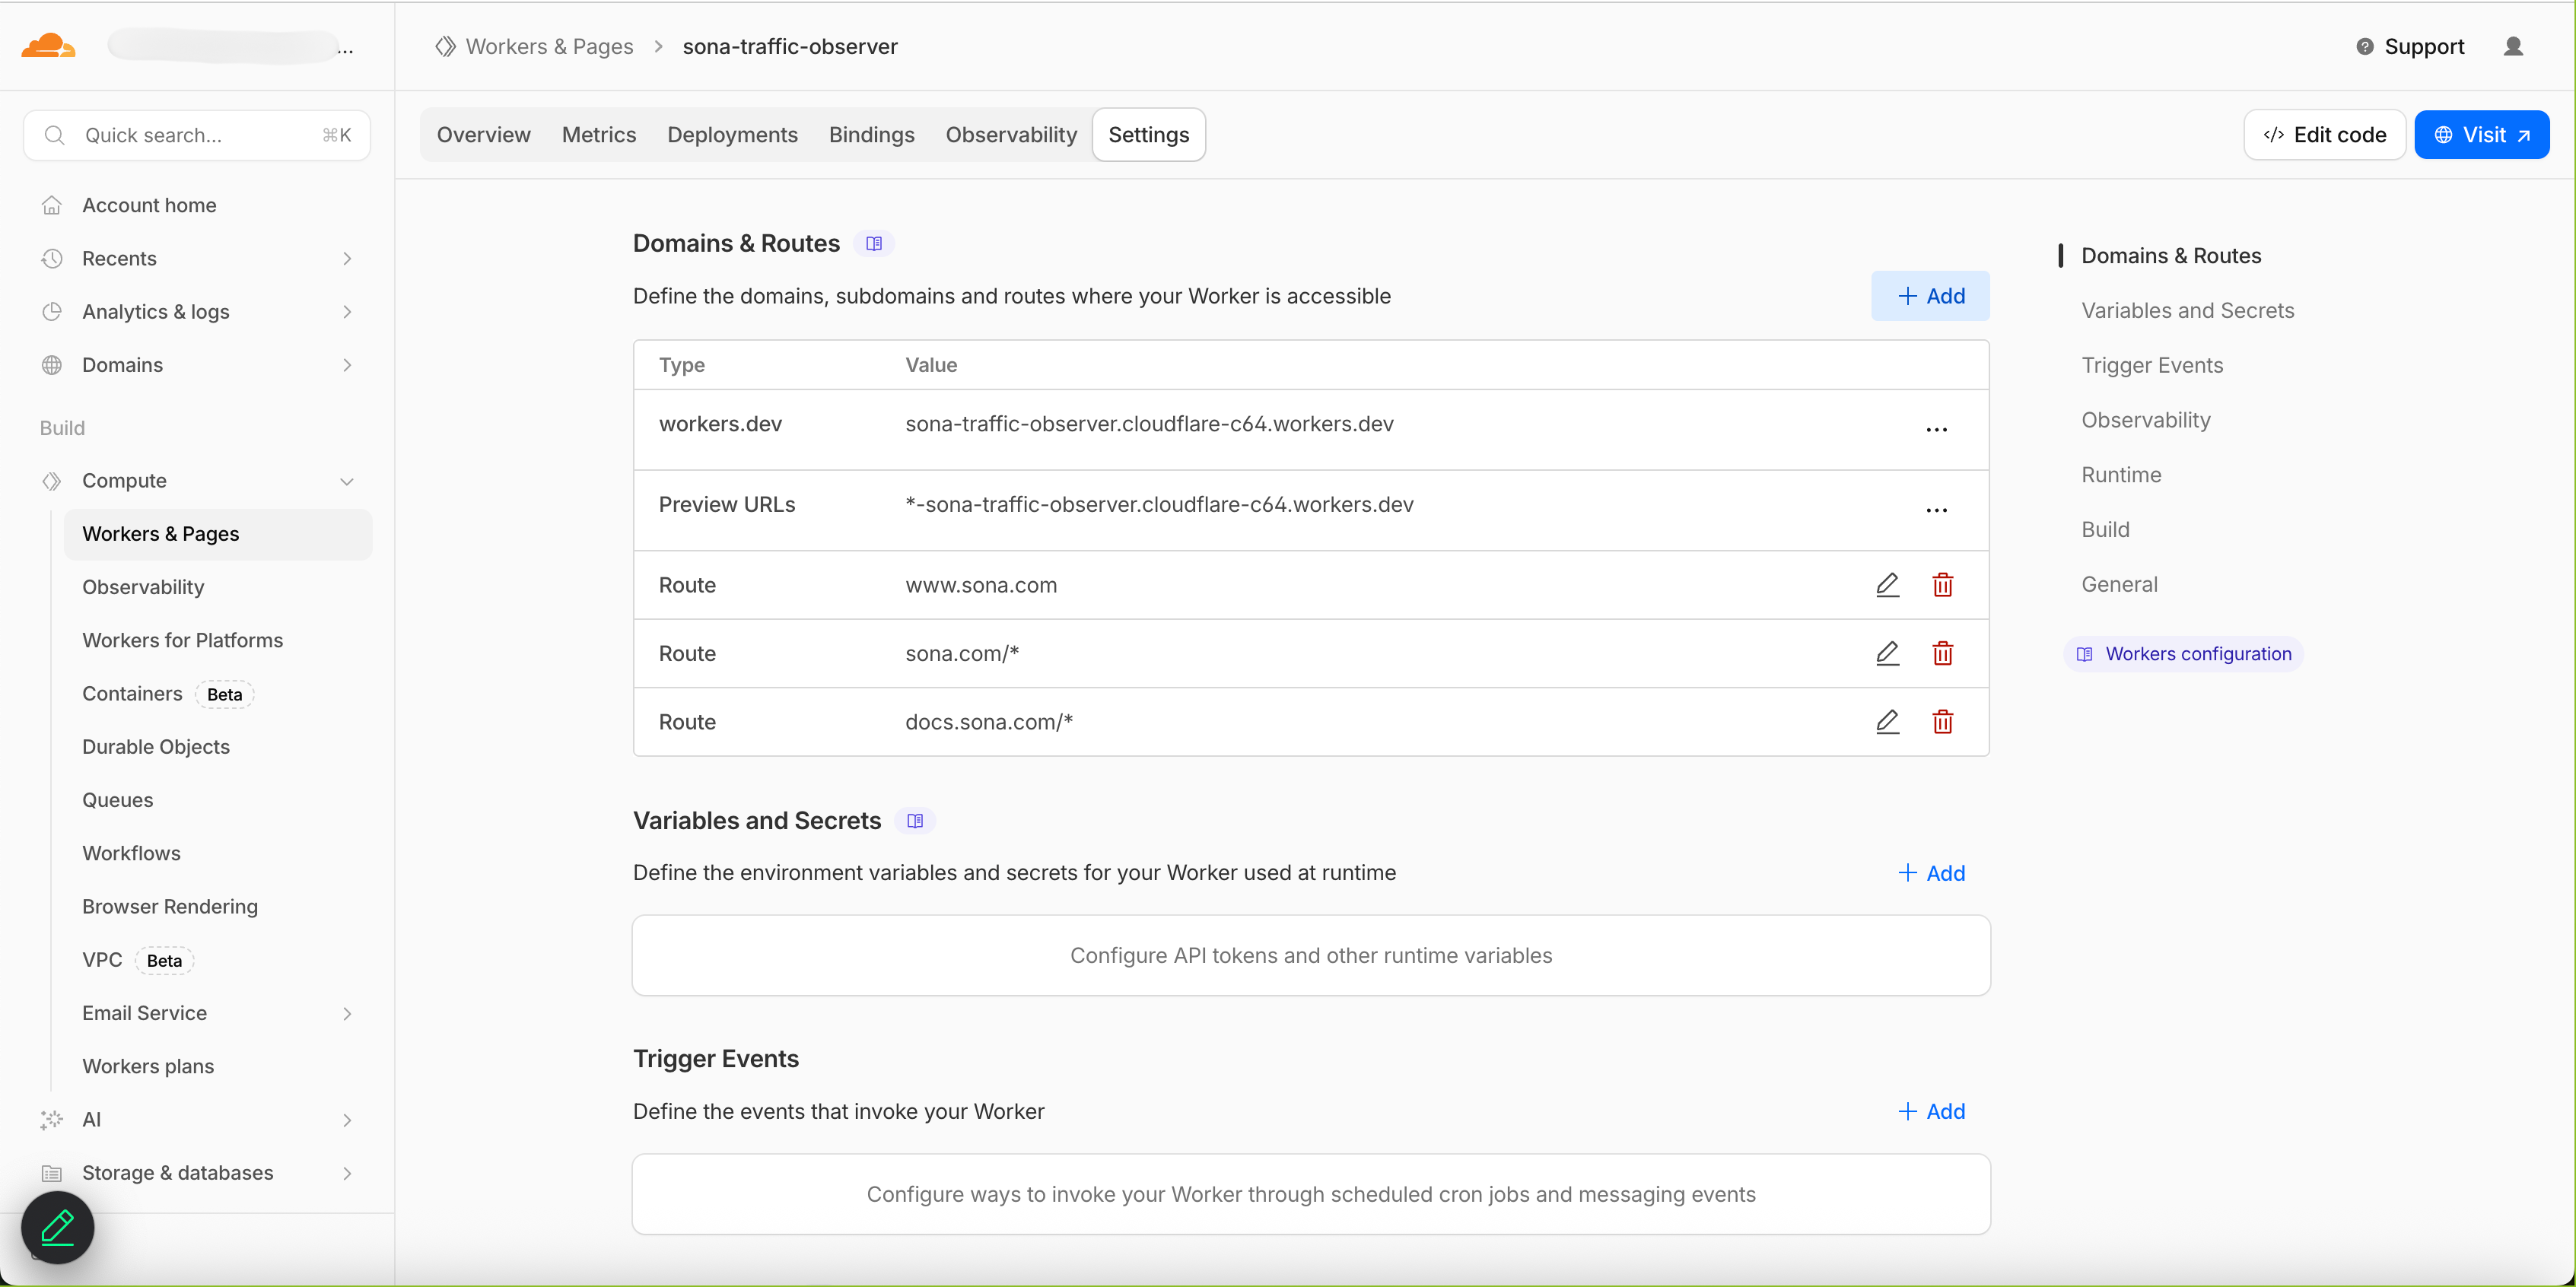
Every request to your domain will now be intercepted by the Worker, forwarded to Sona in the background, and passed through to your origin server without any impact on response time.