 Guides
 API Reference
Step 4: Build custom segments that are most likely to convert
Create named audience segments using filters, data columns, and intent signals to surface the accounts most likely to convert — then apply them across your workflow.
Audiences in Sona are customizable groups of accounts and individuals categorized based on specific attributes, behaviors, and intent signals. These audiences help you identify and prioritize high-intent accounts, enabling your sales and marketing teams to focus on the most promising leads.
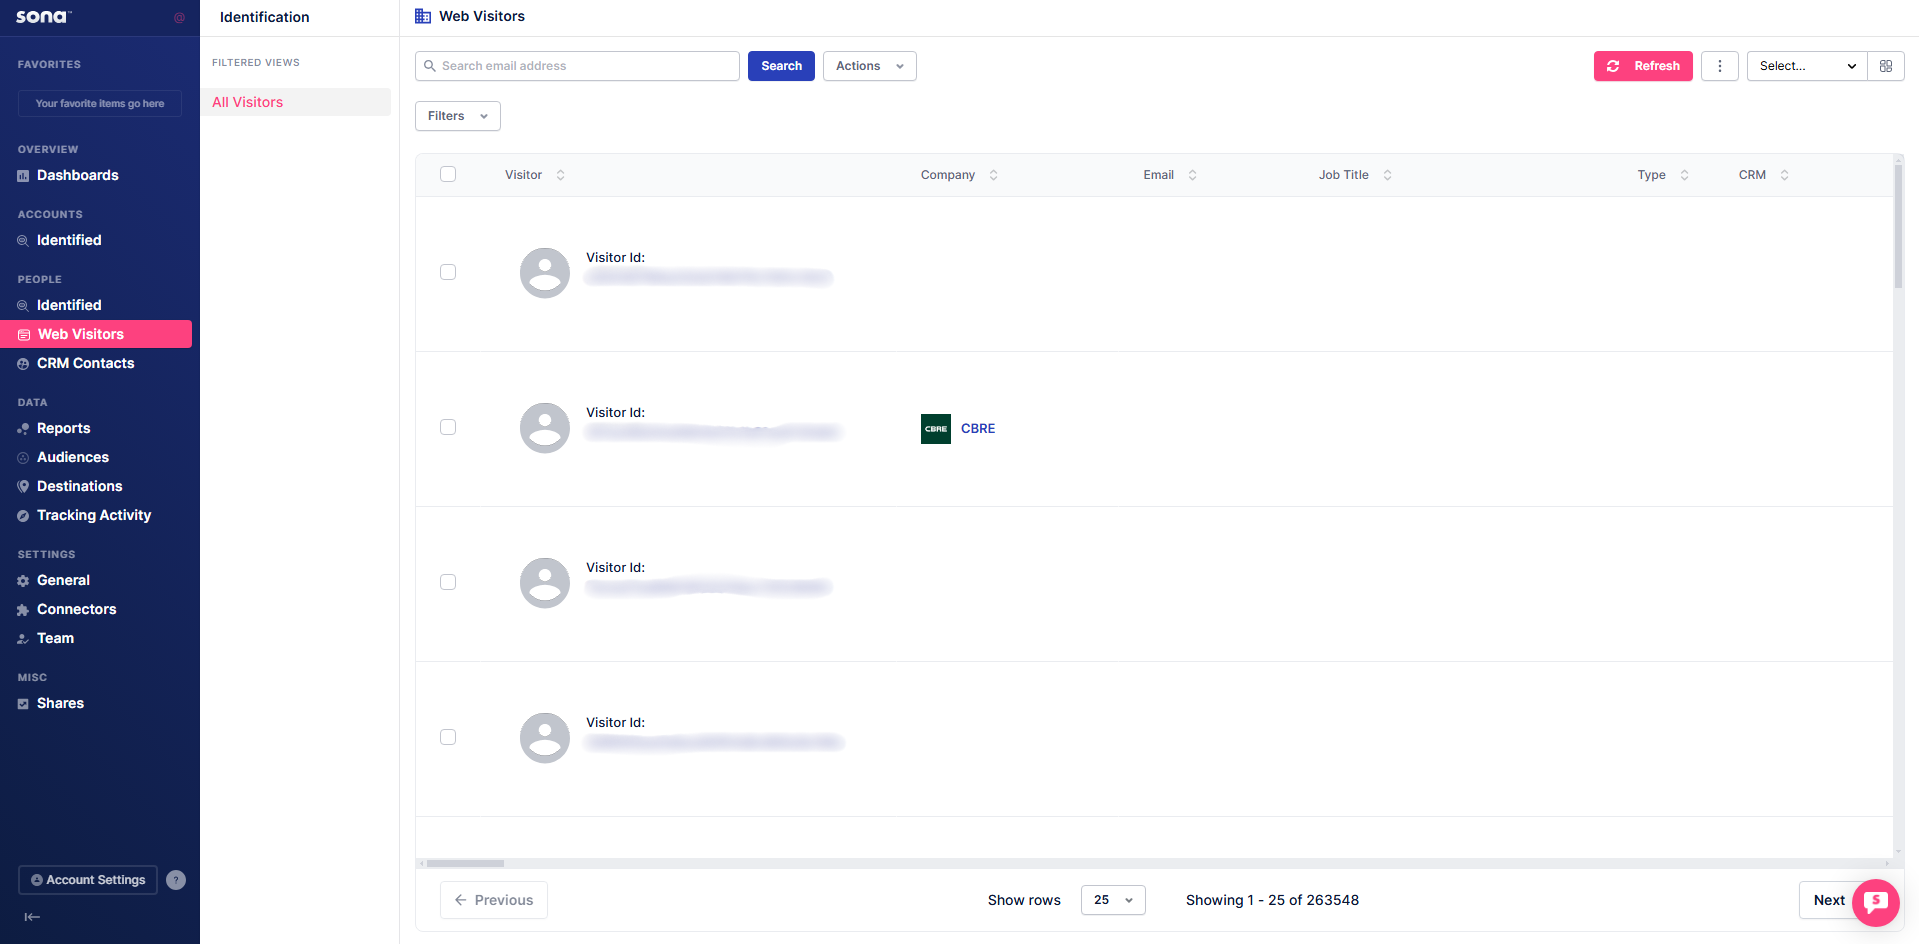
Step 1: Open Web Visitors
To create custom audiences, click on Web Visitors.
When you’re new to Sona and want to quickly identify high-intent accounts, Audiences are a great place to start. These audiences are designed to help you jumpstart your lead generation efforts by focusing on accounts and individuals showing strong engagement and intent signals.
Step 2: Create a new audience
Click the Actions dropdown and select Create Audience.

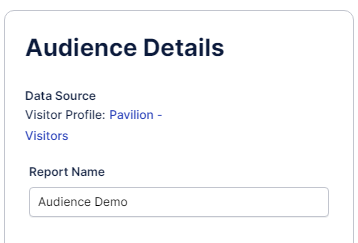
Step 3: Name the audience
Enter a name for your audience.
Step 4: Add filters
Apply the desired filters to define your audience.
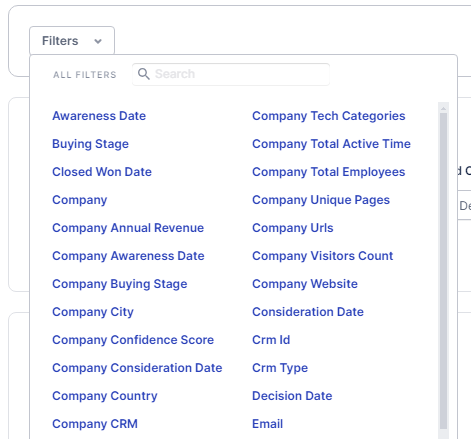
For this audience, we’ll be adding the following filter as an example: First Touch Date.
This filter ensures that the audience includes only accounts or individuals who first interacted with your website or product on a specific date and conditions.
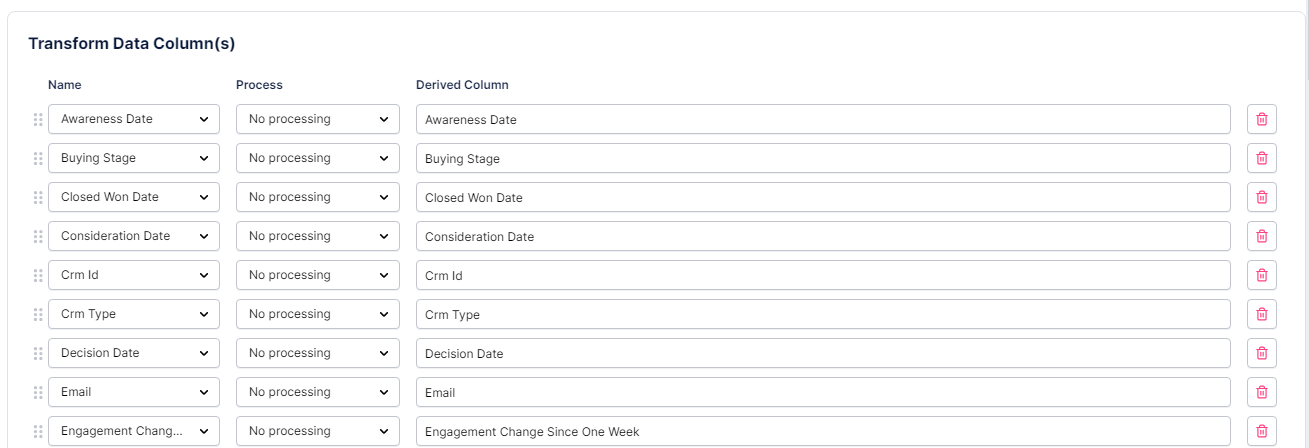
Step 5: Add data columns
Select the Data Columns you want to include.

When creating a data column in Sona, you’ll see three fields: Column Name (select the data field, like Awareness Date), Process (choose how to analyze it, like Sum or Avg), and Derived Column (name the new column, e.g., Total Visits). The Derived Column name auto-fills but can be edited.

Click Add Extraction / Grouping button or Prefill to automatically populate the list with all the columns from the source report.
You can click the trash icon at the end of each attribute to remove columns or Remove All button to remove all the current listed attributes. If a column is not in the list, it won't show up in the audience report.

Step 6: Add metrics column (optional)
Optionally, add a Metrics Column to track specific metrics.

The Insert Calculate Metrics Column(s) section lets you create custom metrics by naming them (e.g., “CPC”) and defining formulas like Total Ad Spend / Total Clicks. It’s a quick way to generate insights like cost-per-click or conversion rates directly in your audience.

Step 7: Add additional columns (optional)
Optionally, add any other Columns you need.

The Insert Column(s) feature lets you add custom data columns by naming them (e.g., “Campaign Source”) and assigning values (e.g., “Google Ads”). It’s perfect for adding static or custom data to make your audience more tailored.
Step 8: Save or apply audience
Once done, you can Save the audience or Apply it immediately.

Use Prefill when adding data columns to auto-populate all available fields — then remove the ones you don't need rather than adding them one by one.